
COZY YARN VIBES · CHRISTMAS CROCHET
Mini Crochet Beanie Ornament for a Cozy Christmas
Little handmade details can make Christmas decorating feel extra special. A miniature crochet beanie adds a soft, wintery touch to your tree, gift wrapping, or a seasonal display.
Choose classic Christmas colors, warm woodland shades, or simple neutrals to create a collection that suits your home. These tiny hats are also a lovely way to turn leftover yarn into thoughtful holiday decorations.
Sizing Guide
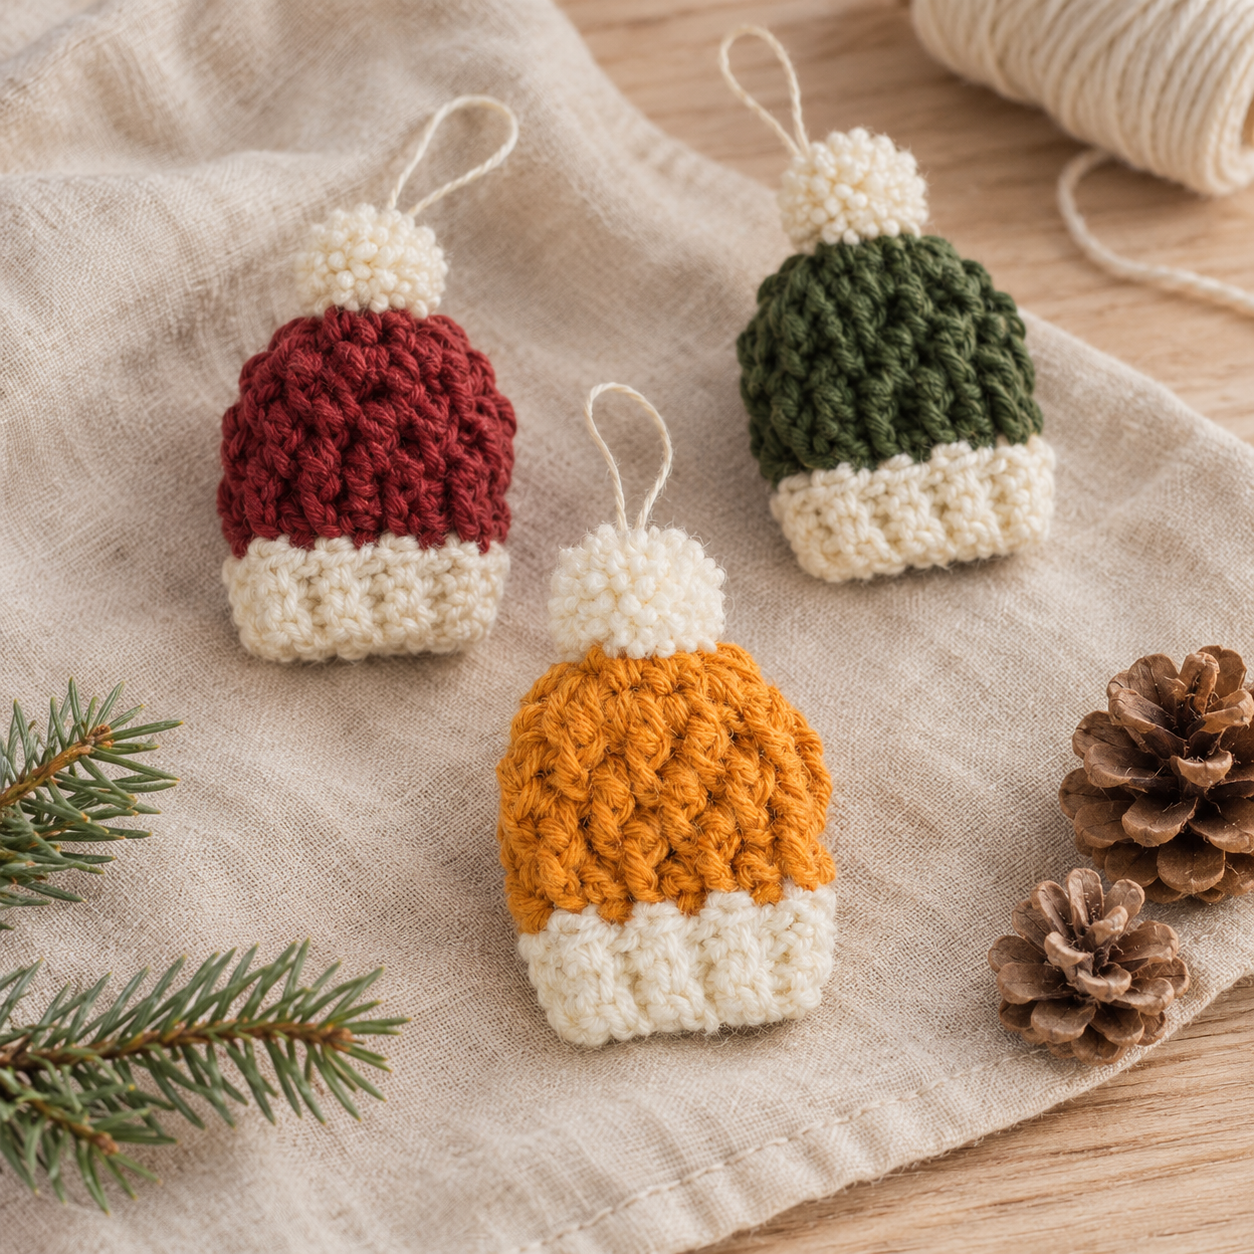
The designer lists a finished size of approximately 4 × 2½ inches. This is a decorative miniature, rather than a fitted hat for a baby or child.
| Detail | Project information |
|---|---|
| Finished size | Approximately 4 × 2½ inches |
| Suggested yarn | Medium / category 4 |
| Suggested hook | 5 mm |
| Yarn estimate | 16 yards for the body and 6 yards for the contrasting brim and pom-pom |
These specifications belong to the original pattern. Changes in yarn thickness, hook size, and tension can affect your finished dimensions.
Check the Size Against Its Intended Use
Before finishing, consider how you will display your hat. A tree ornament needs a balanced hanging loop, while a gift topper needs a secure attachment to the package ribbon.
If you want to tuck a small item inside, check the actual opening with that item. Avoid stretching the brim heavily to force something into place.
Materials and Yarn
- Main-color yarn: for the hat body.
- Contrasting yarn: for the brim and decorative top.
- 5 mm crochet hook: the starting size specified by the designer.
- A yarn needle for weaving in ends and assembly.
- Sharp scissors.
- A removable stitch marker.
- A measuring tape.
- Optional small pom-pom maker or cardboard template.
Choose a Smooth Yarn While Learning
Smooth yarn makes it easier to identify the top loops and upright posts of your stitches. Very fluffy yarn can hide the texture and make counting more difficult.
If you are making several ornaments, use the same yarn range and hook for a more consistent collection. Changing the colors is an easy way to add variety without changing the scale.
Save Enough Yarn for Finishing
Set aside your finishing yarn before using up a small leftover ball. A pom-pom, attachment tails, and hanging loop can use more yarn than you expect.
For a larger batch, weigh the yarn used for your first completed ornament. Use that measurement to estimate how many more you can make.
Stitches and Abbreviations
This project uses US crochet terminology.
| Abbreviation | Meaning |
|---|---|
| ch | Chain |
| sl st | Slip stitch |
| sc | Single crochet |
| sc BLO | Single crochet in the back loop only |
| hdc | Half double crochet |
| dc | Double crochet |
| FPDC | Front post double crochet |
| st / sts | Stitch / stitches |
How to Work the Stitches
These general stitch refreshers can help you prepare. Follow the original pattern for where to place each stitch.
Chain Stitch
Yarn over and pull through the loop on your hook. Keep the loops relaxed enough for the hook to move through comfortably.
Slip Stitch
Insert your hook into the indicated stitch, yarn over, and pull through both the stitch and the loop already on your hook.
Single Crochet
Insert your hook into the stitch, yarn over, and pull up a loop. Yarn over again and pull through both loops.
Single Crochet in the Back Loop Only
Look at the two strands forming the V at the top of a stitch. Insert the hook into only the strand farther from you, then complete a single crochet.
Leaving the front strand unworked helps create the ridges associated with back-loop ribbing.
Half Double Crochet
Yarn over, insert the hook, and pull up a loop. Yarn over and pull through all three loops on the hook.
Double Crochet
Yarn over, insert the hook, and pull up a loop. Yarn over and pull through two loops. Yarn over once more and pull through the remaining two loops.
Front Post Double Crochet
Yarn over and pass your hook around the upright post of the indicated stitch, entering from the front and bringing the hook back to the front. Complete a double crochet around that post.
Identify the post before inserting your hook. Catching two neighboring posts together can distort the texture.
Project Checkpoints
Checkpoint 1: Inspect the Hat Body
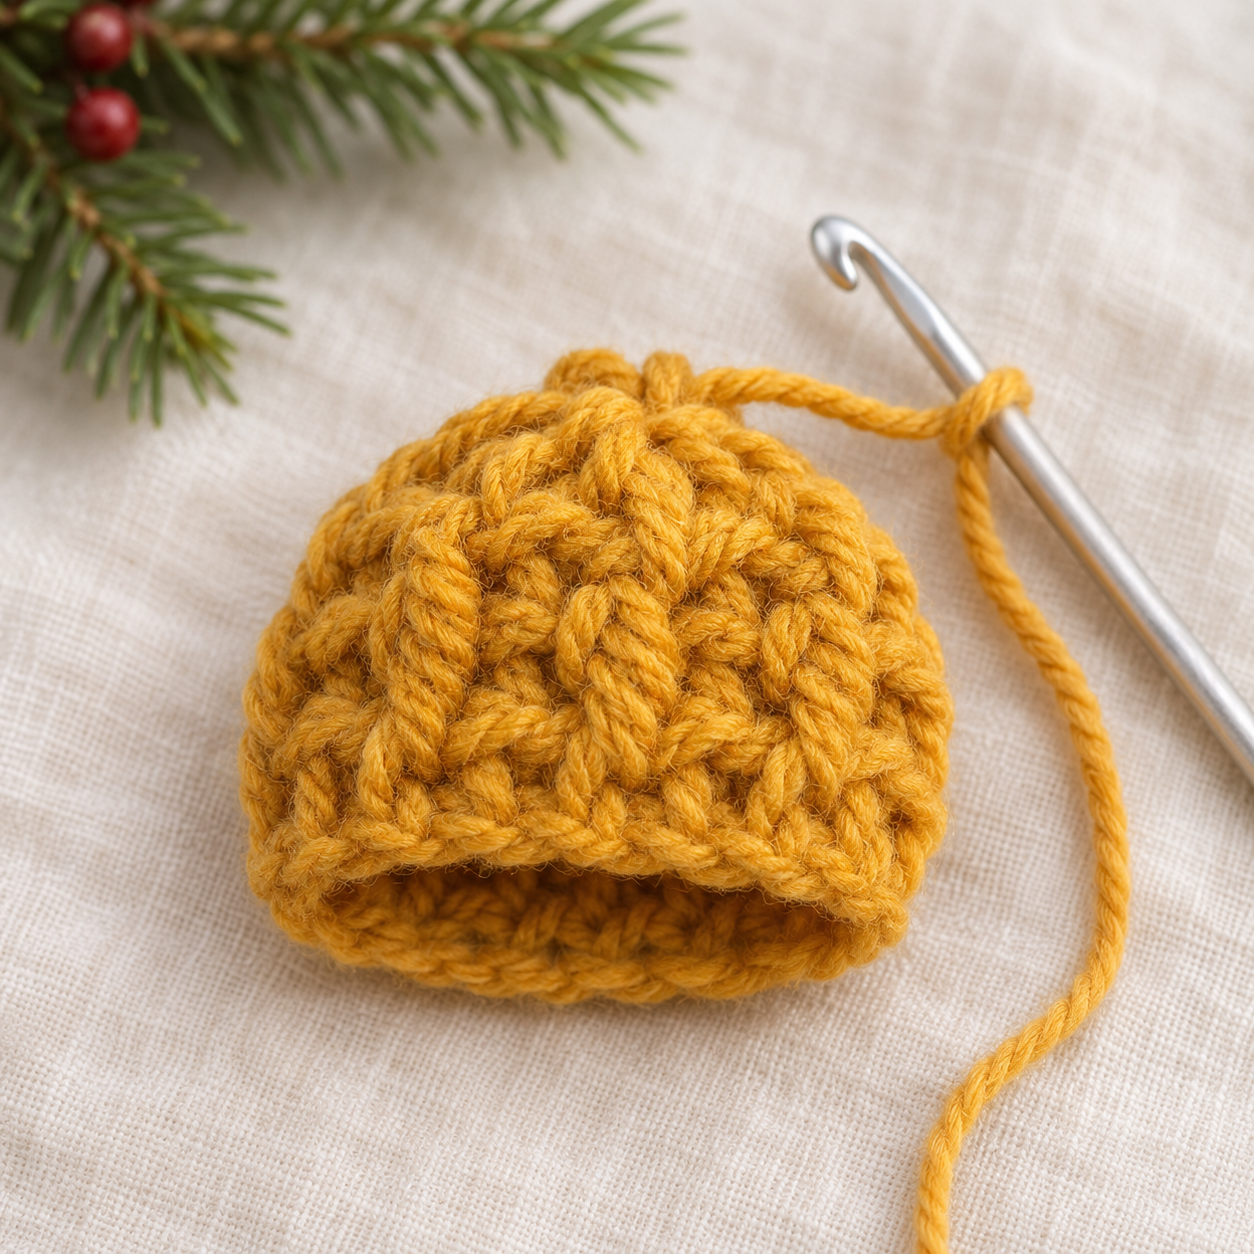
As you work the body, count before moving to the next round. Use a removable marker when the join is difficult to see.
Pause occasionally to examine the texture in good light. Find the stitch tops and posts separately so you can recognize their positions in the fabric.
Correct a skipped or extra stitch while the affected section is still easy to reach.
Checkpoint 2: Inspect the Brim and Joins
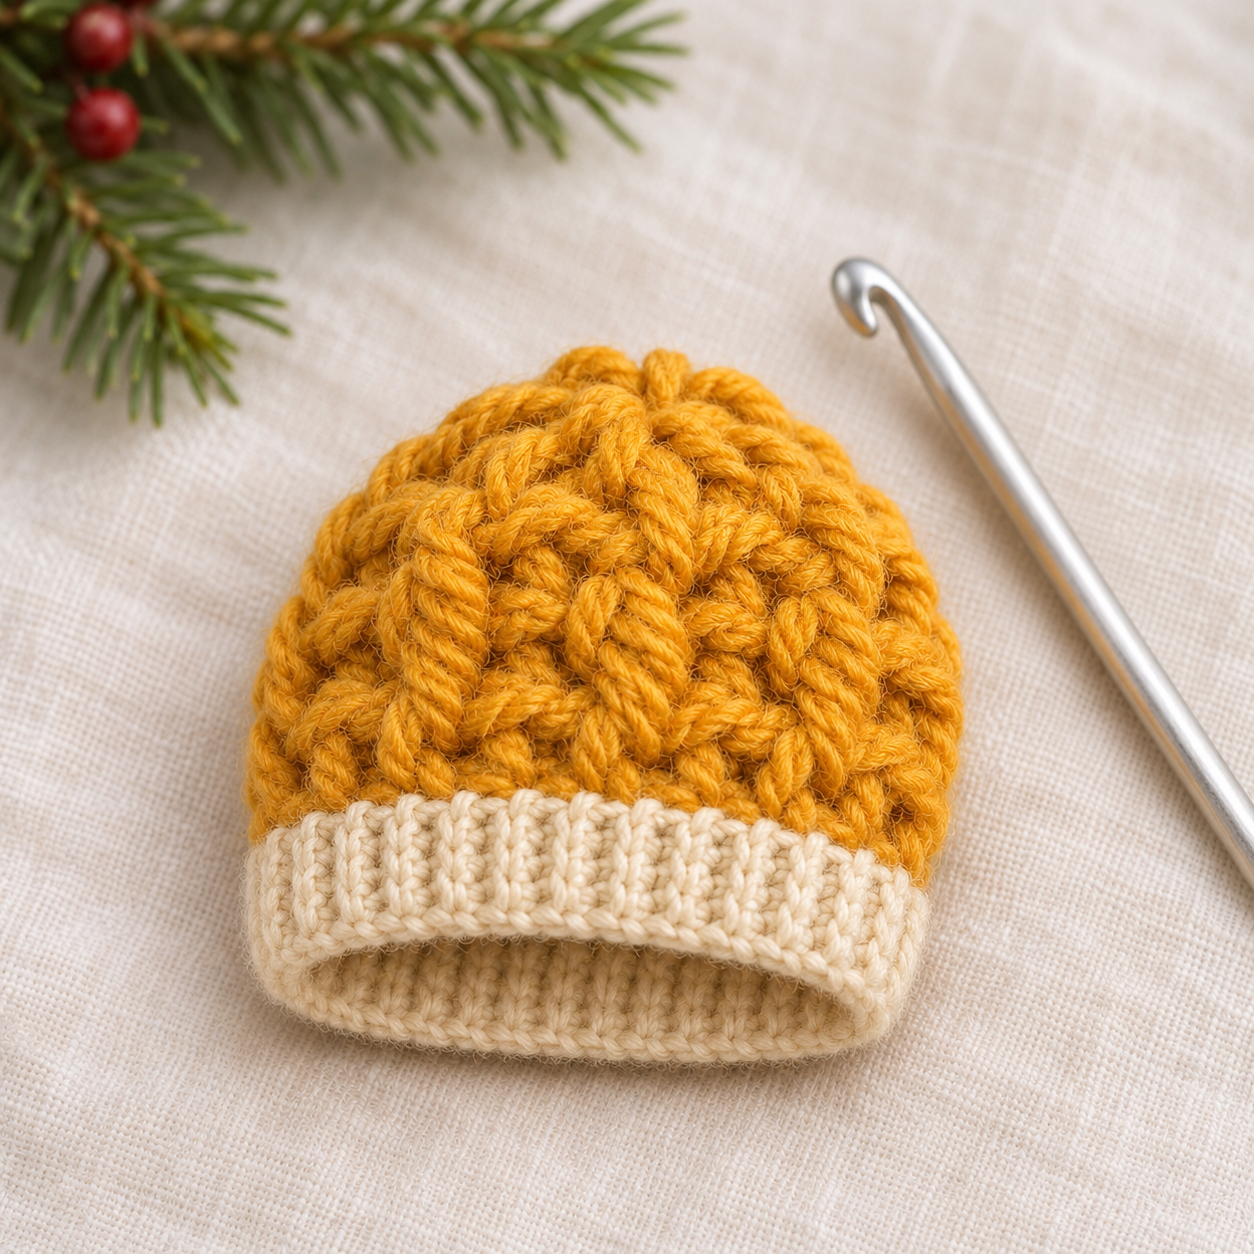
Follow the designer’s brim instructions carefully. Small attached sections can feel crowded, so take time to distinguish the ribbing stitches from nearby joins.
Check the seam from both sides. Spread woven tails through nearby stitches instead of creating a thick bundle in one spot.
Finish and Check the Hanging Position
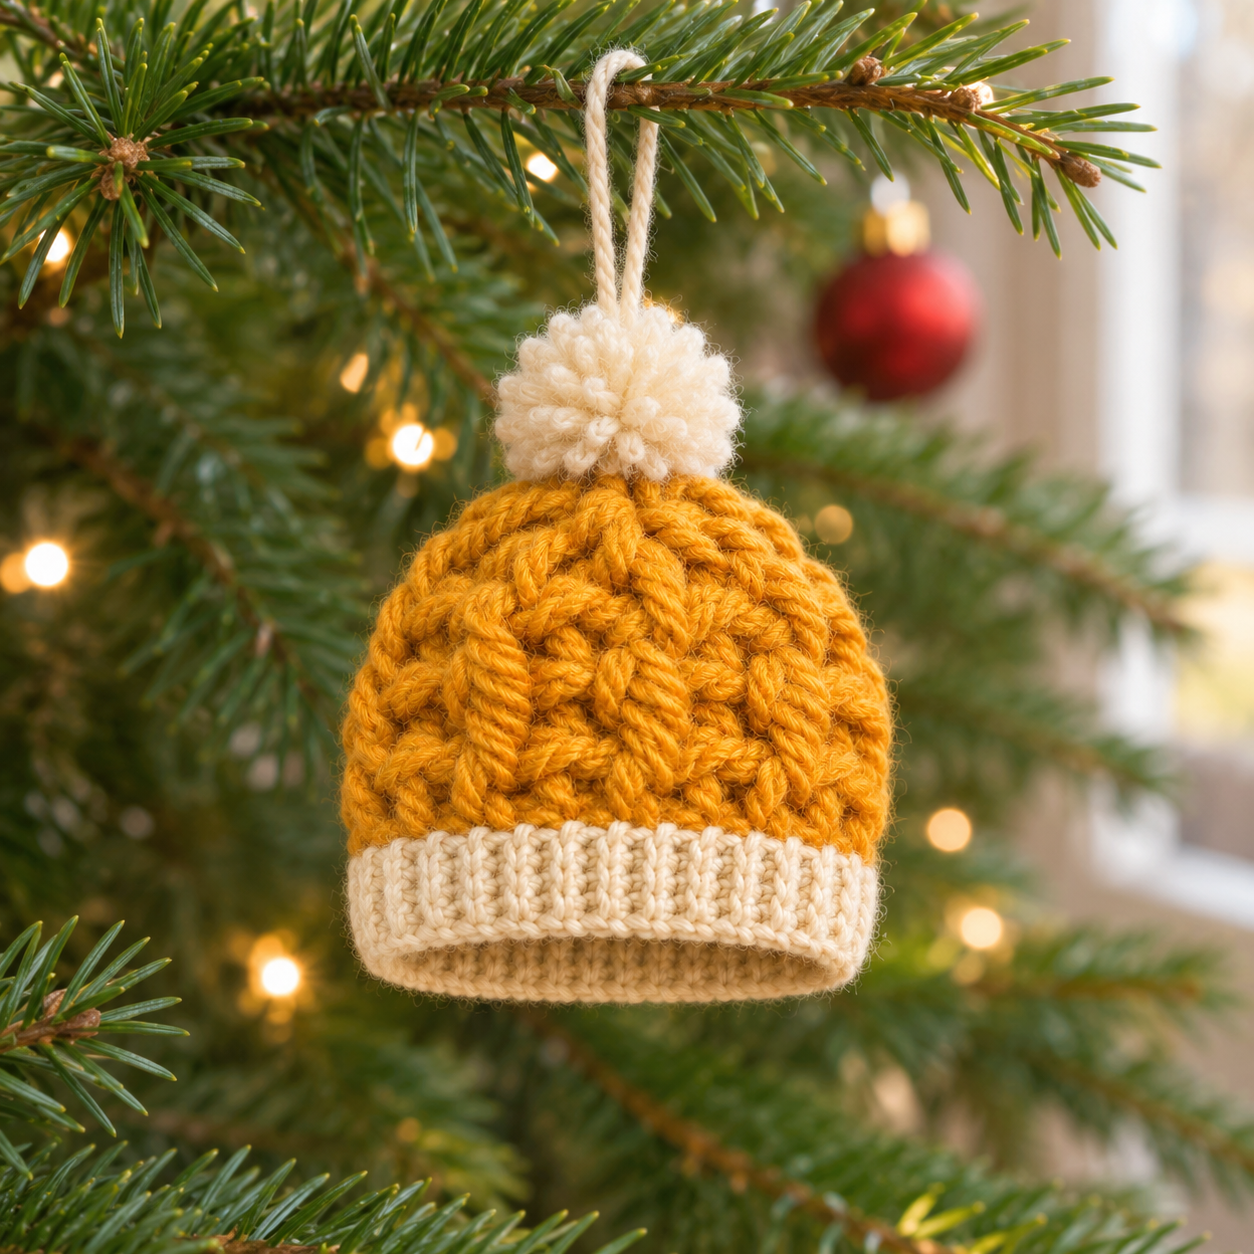
Add the finishing details following the original tutorial. Before trimming attachment tails, check that the decorative top is secure.
Hold the ornament by its hanging loop and view it from the front. Adjust the loop if the hat tips too far forward or to one side.
Give the finished piece a gentle inspection, checking for loose yarn ends and any attachment that needs another securing stitch.
Customization Ideas
Classic Christmas Colors
Pair a red body with cream accents for a traditional holiday look. Repeat the same combination across several ornaments for a coordinated tree.
Warm Woodland Shades
Mustard, oatmeal, forest green, and rust look lovely with natural ribbons and dried orange decorations.
Soft Winter Neutrals
Try ivory, taupe, gray, or pale blue for decorations that can stay on display throughout winter.
Add It to Gift Wrapping
Tie the finished ornament to the ribbon around a wrapped present. Attach any heavier gift label to the package ribbon so it does not pull on the crochet.
Create a Miniature Collection
Make several body colors with one shared accent shade. Keep notes on your yarn and hook so the next ornament matches the scale of the first.
Troubleshooting
My Stitch Count Has Changed
Check the beginning and end of the affected section. Joins and turning chains can be easy to confuse with working stitches. Recount against the designer’s stated totals before continuing.
The Texture Looks Uneven
Check whether you have worked around the intended post or into a stitch top. Keep the height of your stitches consistent and avoid pulling post stitches too tightly.
The Brim Looks Tight
Review your tension and the attachment points against the original instructions. A tight join can restrict the edge. Undo and rework the affected section rather than forcing it into shape.
The Pom-Pom Looks Untidy
Check that its center tie is secure before trimming. Shape gradually with small cuts, turning it as you work so you can assess all sides.
The Ornament Hangs Crooked
Test another loop position closer to the balance point. Check the hanging position before trimming your final attachment tails.
Care and Storage
Follow the yarn label and the requirements of any added trim. Gentle dusting or spot cleaning may be enough for an ornament used indoors.
If washing is suitable, handle the piece gently and reshape it while damp. Allow it to dry completely before storing.
Store miniature hats in a shallow box, leaving room around their decorative tops. Avoid packing heavy ornaments on top of them.
Keep yarn decorations away from candles, heaters, and open flames. Hanging loops and small trims make this a decorative item rather than a toy.
A LITTLE EXTRA CHRISTMAS COZINESS
Explore These Amazon Finds
Putting together your holiday craft corner or finishing a festive display? Take a closer look at these finds alongside your miniature beanie project.
This section contains affiliate links. As an Amazon Associate, I earn from qualifying purchases.

FESTIVE FIND
Amazon Find 1
Explore this listing and check whether it suits your holiday plans.
View on Amazon ↗
TAKE A CLOSER LOOK
Amazon Find 2
Browse the available options and check the materials and dimensions in the listing.
View on Amazon ↗
FOR YOUR HOLIDAY PLANS
Amazon Find 3
Check the selected version and delivery details before placing your order.
View on Amazon ↗Product options, prices, and availability may change. These listings are separate from the designer’s pattern.
Frequently Asked Questions
Where can I find the complete pattern?
Read The Turtle Trunk’s original free pattern for the full rounds, rows, stitch counts, and tutorial.
Is this suitable for a beginner?
The designer rates it easy / advanced beginner. Practice identifying stitch posts and back loops first if those techniques are new to you.
Can I use this as a baby hat?
This project is a decorative miniature. Use a separate fitted pattern with appropriate measurements for a wearable baby hat.
Can I change the yarn?
Different yarns can change the finished size and texture. Make one sample before committing to a coordinated set.
How can I keep a set consistent?
Use the same yarn range, hook, and tension. Record your materials and compare each finished ornament with the first one.
Can I sell the finished ornaments?
The designer permits sales of finished items and asks for a link back. Check the original page for the full terms; the pattern and photos must not be republished.