Chunky Puff Stitch Crochet Shoulder Bag – Free Pattern & Guide
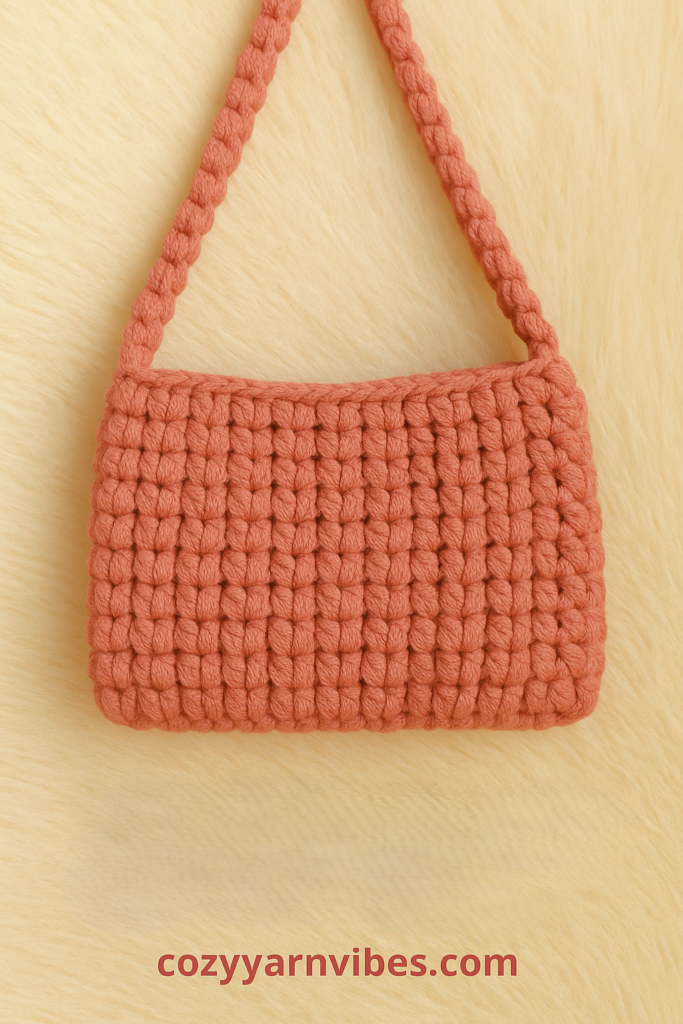
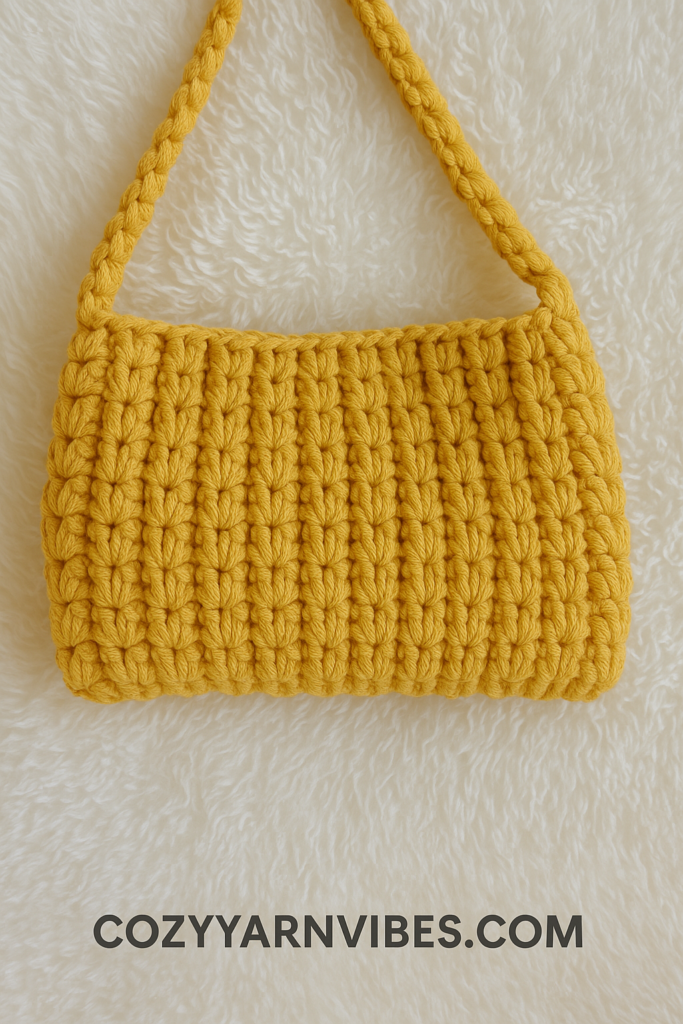
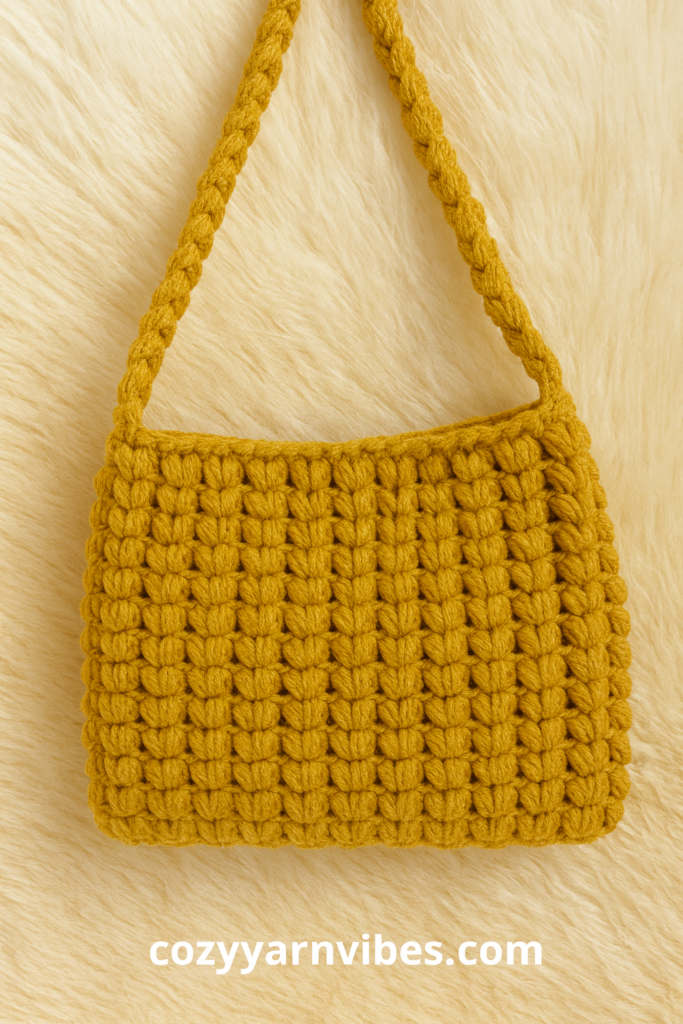
If you’re looking for a stylish yet functional crochet bag, this Chunky Puff Stitch Shoulder Bag is a must-make! With its thick texture, beautiful puff stitches, and durable design, it’s perfect for everyday use. Whether you’re heading to brunch, the market, or a casual outing, this bag will be your go-to accessory.
In this post, I’ll walk you through materials, stitches, pattern instructions, assembly, and customization ideas.

🧶 Materials Needed
- Yarn: Super bulky cotton or t-shirt yarn (approx. 200–250g)
- The example uses dusty pink for a soft and modern look.
- Hook: 6.5mm–8mm crochet hook (depending on your tension)
- Scissors
- Yarn needle for weaving ends
- Bag lining (optional) for extra durability
- Magnetic clasp or zipper (optional)
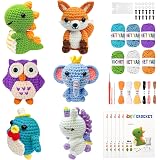
Mobelixy 6PCS Crochet Kit for Beginners, 2026 Christmas Knitting Kit with Step-by-Step Video Tutorials, Beginner Crochet Kit for Adults (Blue)
$14.99 (as of July 18, 2026 18:04 GMT +00:00 – More infoProduct prices and availability are accurate as of the date/time indicated and are subject to change. Any price and availability information displayed on [relevant Amazon Site(s), as applicable] at the time of purchase will apply to the purchase of this product.)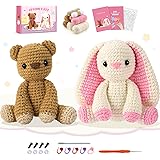
Crochet Kit for Beginners, Bunny and Bear Crochet Kit with Step-by-Step Video Tutorials, Bunny Crocheting Kit for Starter, Beginner Crochet Kit for Adult, Stuffed Animal Knitting Kit for Birthday
$16.99 (as of July 18, 2026 18:04 GMT +00:00 – More infoProduct prices and availability are accurate as of the date/time indicated and are subject to change. Any price and availability information displayed on [relevant Amazon Site(s), as applicable] at the time of purchase will apply to the purchase of this product.)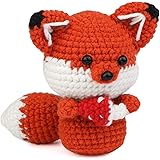
Mnuizu Crochet Kit for Beginners, Animal Crochet kit for Starters with Instructional and Step-by-Step Video Tutorials, Complete Crochet Accessories, Crochet Kit for Adults,Easy Starter Present(Fox)
$6.99 (as of July 18, 2026 18:04 GMT +00:00 – More infoProduct prices and availability are accurate as of the date/time indicated and are subject to change. Any price and availability information displayed on [relevant Amazon Site(s), as applicable] at the time of purchase will apply to the purchase of this product.)
XSEINO Crochet Kit for Beginners – Crochet Start Kit with Step-by-Step Video Tutorials – Learn to Crochet Kits for Adults and Kids – Panda, Frog, Hedgehog
$11.99 (as of July 18, 2026 18:04 GMT +00:00 – More infoProduct prices and availability are accurate as of the date/time indicated and are subject to change. Any price and availability information displayed on [relevant Amazon Site(s), as applicable] at the time of purchase will apply to the purchase of this product.)📏 Finished Size
- Width: ~26 cm (10.2 inches)
- Height: ~18 cm (7 inches) without straps
- Strap length: Adjustable – sample strap ~60 cm (23.6 inches)
🧵 Stitches & Abbreviations
- ch – chain
- sc – single crochet
- dc – double crochet
- puff st – puff stitch (yarn over, insert hook into stitch, yarn over and pull up a loop – repeat 3 times, then yarn over and pull through all loops on hook)
- sl st – slip stitch
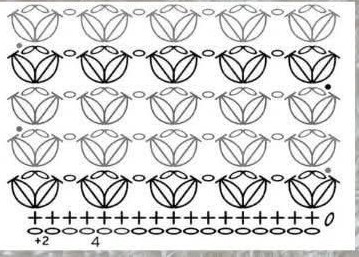
📜 Pattern Instructions
Foundation
- Chain a length equal to the width of your bag (multiple of 4 + 2).
- Row 1 (Base row): Sc in each chain across. Turn.
Row 2 (Puff Shell Row)
- Ch 3 make puff stitch
- Ch 2, make 1 puff stitch in the same stitch. (This creates your first puff shell)
- Skip 3 sts, ch 1, puff stitch, ch 2, puff stitch in same st (second puff shell).
- Repeat from * to * across. Turn.
Row 3 (Repeat Row)
- Work puff shells directly into the ch-1 space of each puff shell group from previous row.
- Ch 3 (counts as puff st), ch 2, puff st in same space, skip to next ch-1 space, ch 1, puff st, ch 2, puff st in same space.
- Repeat across. Turn.
Repeat
- Continue working Row 3 until your panel reaches desired height.
- Make two identical panels for front and back.
Assembly
- Place panels together, right sides facing out.
- Seam sides and bottom using slip stitch or whip stitch.
- Strap:
- Chain desired length.
- Sc evenly across the chain to thicken it.
- Attach securely to top corners.
✨ Optional Finishing
Decorate with tassels or charms.
Add lining for structure.
Attach zipper or clasp for closure.
🎨 Customization Ideas
- Try neutral shades for a minimalist look or bright pastels for a fun summer vibe.
- Alternate yarn colors every 2–3 rows for a striped effect.
- Use a shorter strap to make it a handbag or a longer one for a crossbody style.
💡 Pro Tip
Because puff stitches are thick, your bag will naturally hold its shape well. However, using a tighter tension will make it even sturdier.
This Chunky Puff Stitch Shoulder Bag is quick to work up and perfect for beginners who want to make something functional yet beautiful. The stitch pattern is easy to memorize, and the end result is so satisfying.
Can I just crochet a rectangle then sew closed, instead of 2 panels?
Pingback: 22 Puff Stitch Crochet Bags - HelthDestiny