
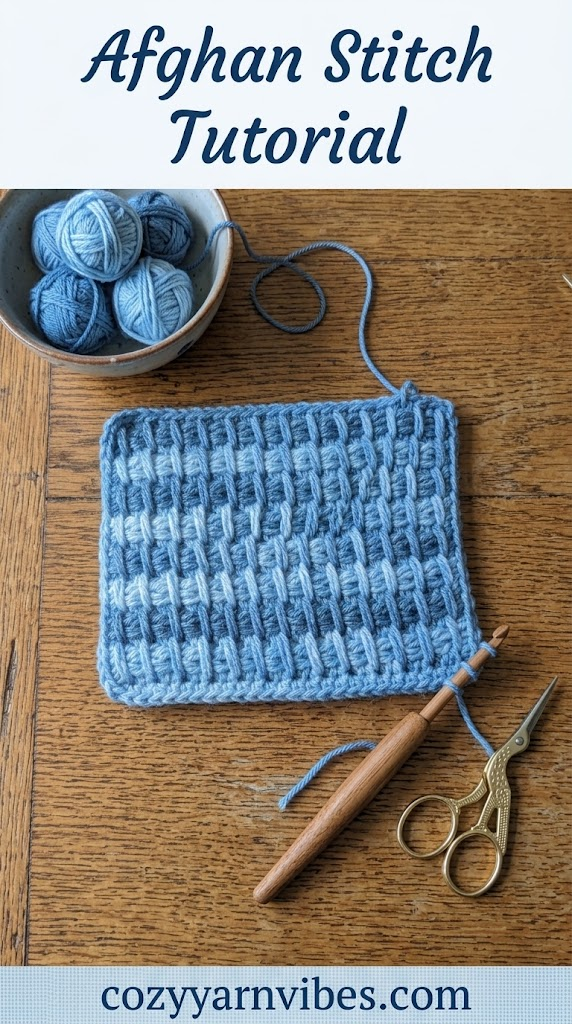
The Afghan stitch is a classic crochet technique known for its dense, woven texture and neat rows of vertical bars. It creates a fabric that looks somewhat similar to knitted fabric, making it a popular choice for blankets, scarves, cushions, bags, and other crochet projects.
Unlike many traditional crochet stitches, the Afghan stitch is worked in two parts within each row. You first pick up loops across the row and then work those loops off the hook. Once you understand this movement, the stitch becomes much easier to follow.
This guide will take you through everything you need to know about the Afghan stitch, including its definition, special techniques, step-by-step instructions, common mistakes, project ideas, and helpful tips.
Afghan Stitch Definition
The Afghan stitch is a textured crochet stitch that creates a thick, closely woven fabric. It is also commonly called Tunisian simple stitch, although the exact terminology can vary depending on the pattern and crochet tradition.
The stitch is worked by picking up multiple loops onto the crochet hook during the forward pass and then removing those loops during the return pass. This two-part construction gives the fabric its distinctive vertical lines and woven appearance.
The Afghan stitch is especially useful when you want a fabric that is warmer and more structured than a typical open crochet stitch.
How to Make the Afghan Stitch
To make the Afghan stitch, you will need:
- Yarn of your choice
- A crochet hook suitable for your yarn
- Scissors
- A yarn needle for finishing
For larger Afghan stitch projects, a Tunisian crochet hook or a longer crochet hook can be useful because many loops are held on the hook at once.
The stitch is made using a simple two-part process:
- Forward pass: Pick up loops across the row and leave them on the hook.
- Return pass: Work the loops off the hook until only one loop remains.
The loop remaining on your hook becomes the starting point for the next row.
Special Techniques
Forward Pass
The forward pass is the first part of the Afghan stitch row. You insert the hook into the appropriate stitches and pull up loops, leaving all of them on the hook.
Do not work these loops off immediately. They will be removed during the return pass.
Return Pass
The return pass is the second part of the row.
Yarn over and pull through one loop first. Then continue by yarning over and pulling through two loops at a time until only one loop remains on the hook.
The single loop left on the hook counts as the starting loop for the next row.
Step 1: Make the Foundation Chain
- Start with a slip knot on your crochet hook.
- Chain 30 stitches.
- Keep your chain loose enough that you can easily insert your hook into the stitches.
Step 2: Work the Foundation Forward Pass
Now you will pick up loops from the foundation chain.
- Insert your hook into the second chain from the hook.
- Yarn over and pull up a loop.
- Leave this loop on your hook. Do not work it off yet.
- Insert your hook into the next chain.
- Yarn over and pull up another loop.
- Continue working into each chain across the row.
- Pull up one loop from each chain and leave all the loops on your hook.
When you reach the end, you should have 30 loops on your hook.
This completes the foundation forward pass.
Step 3: Work the Foundation Return Pass
Now you will work the loops off your hook.
- Yarn over and pull through 1 loop on your hook.
- Yarn over again and pull through 2 loops.
- Continue yarning over and pulling through 2 loops at a time.
- Keep repeating this across the row until only 1 loop remains on your hook.
This remaining loop counts as the first stitch of the next row.
Your foundation row is now complete.
Step 4: Start the Afghan Stitch Forward Pass
After completing the foundation row, you will see vertical bars across your work. These bars are where you will insert your hook.
- The loop already on your hook counts as the first stitch, so do not work into the vertical bar directly underneath it.
- Insert your hook from right to left under the next vertical bar.
- Yarn over and pull up a loop.
- Leave the new loop on your hook.
- Continue inserting your hook under each vertical bar across the row.
- Yarn over and pull up a loop each time.
- Make sure you work into the last vertical bar at the edge of the row.
At the end of the forward pass, you should have 30 loops on your hook.
Step 5: Work the Afghan Stitch Return Pass
The return pass is worked the same way as the foundation return pass.
- Yarn over and pull through 1 loop.
- Yarn over and pull through 2 loops.
- Continue pulling through 2 loops at a time across the row.
- Keep working until only 1 loop remains on your hook.
This completes one full row of Afghan stitch.
Step 6: Repeat the Afghan Stitch
Continue repeating the same two passes to make your Afghan stitch fabric.
Forward Pass
- Skip the vertical bar directly below the loop on your hook.
- Insert your hook under the next vertical bar.
- Yarn over and pull up a loop.
- Leave the loop on your hook.
- Continue across the row.
- Remember to work into the final vertical bar.
Return Pass
- Yarn over and pull through 1 loop.
- Yarn over and pull through 2 loops.
- Continue pulling through 2 loops at a time.
- Stop when only 1 loop remains on your hook.
Repeat these forward and return passes until your piece reaches the desired length.
Note: Your Afghan stitch fabric may curl slightly as you work. This is normal for this stitch and does not mean you are doing it incorrectly.
Step 7: Bind Off the Afghan Stitch
Once your piece is the desired size, finish it with a row of slip stitches.
- Skip the vertical bar directly below the loop on your hook.
- Insert your hook from right to left under the next vertical bar.
- Yarn over and pull up a loop.
- Pull this loop directly through the loop already on your hook to make a slip stitch.
- Continue working one slip stitch under each vertical bar across the row.
- When you reach the end, fasten off your yarn.
Your Afghan stitch piece is now complete.
Tips for Perfect Afghan Stitch
Keep these tips in mind while practicing the Afghan stitch:
- Keep your tension relaxed so the fabric does not become too tight.
- Use a hook that allows your loops to move comfortably.
- Count your loops regularly to make sure you have not skipped a stitch.
- Pay attention to the vertical bars when working the forward pass.
- Keep the edge stitches consistent from row to row.
- Avoid pulling the loops too tightly when picking them up.
- Practice a small swatch before starting a large project.
- Use a longer Tunisian crochet hook for projects that require many stitches.
- Keep the return pass consistent so the fabric maintains an even texture.
Common Mistakes to Avoid
The Afghan stitch is simple once you understand the two-pass construction, but beginners can make a few common mistakes.
Skipping a Vertical Bar
Missing one vertical bar during the forward pass can reduce the number of loops in the row and make the edges uneven.
Working the Return Pass Incorrectly
Remember that the first return-pass movement is different. Pull through one loop first, then pull through two loops at a time across the rest of the row.
Tight Tension
Pulling each loop too tightly can make it difficult to insert the hook into the next row. Keep the loops loose enough for the hook to move comfortably.
Losing Track of the Edge Stitch
The first and last stitches help maintain the shape of your project. Make sure you work them consistently in every row.
Using a Small Hook
A hook that is too small can create a stiff fabric and make it difficult to pick up loops. A slightly larger hook may produce a softer result.
Projects You Can Make with the Afghan Stitch
The dense texture of the Afghan stitch makes it suitable for many crochet projects.
Blankets
Afghan stitch is particularly popular for blankets because it creates a warm and substantial fabric. You can work a simple solid-color blanket or combine multiple colors for stripes and geometric designs.
Scarves
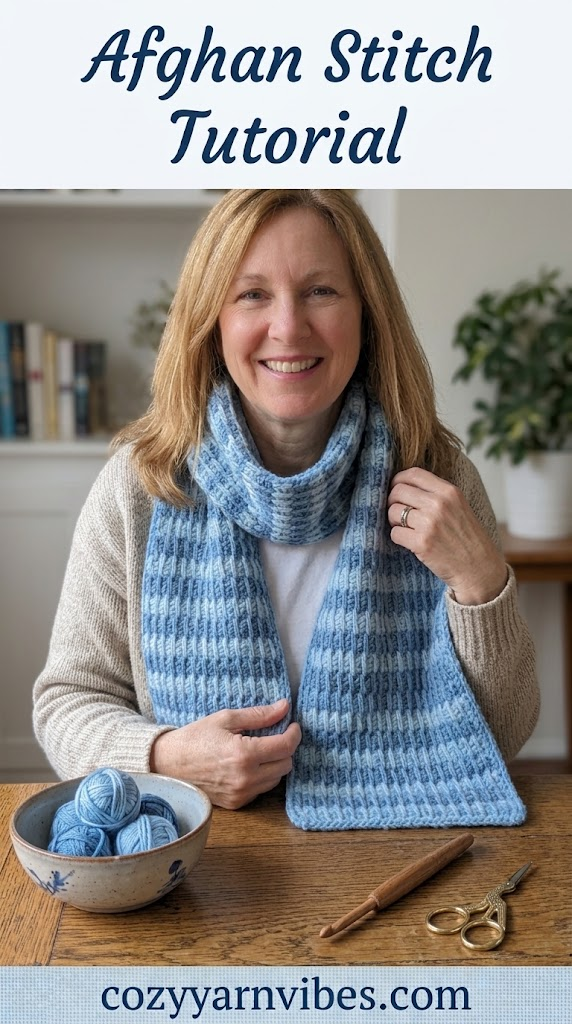
The firm texture works well for warm winter scarves. Choose a soft yarn to make the finished scarf comfortable to wear.
Home Décor
Use Afghan stitch for cushion covers, pillow cases, table runners, placemats, and decorative throws. Its woven appearance adds texture to simple home projects.
Bags and Pouches
The dense fabric can work well for crochet bags, purses, totes, and pouches. The close stitches provide more structure than many open crochet patterns.
Garments
Afghan stitch can be used for cardigans, vests, jackets, and other garments when a thicker fabric is desired. Keep in mind that the finished fabric can be heavier than fabric made with open crochet stitches.
Accessories
Try this stitch for hats, headbands, cowls, slippers, and other cold-weather accessories.
Variations of the Afghan Stitch
There are several ways to change the appearance of Afghan stitch.
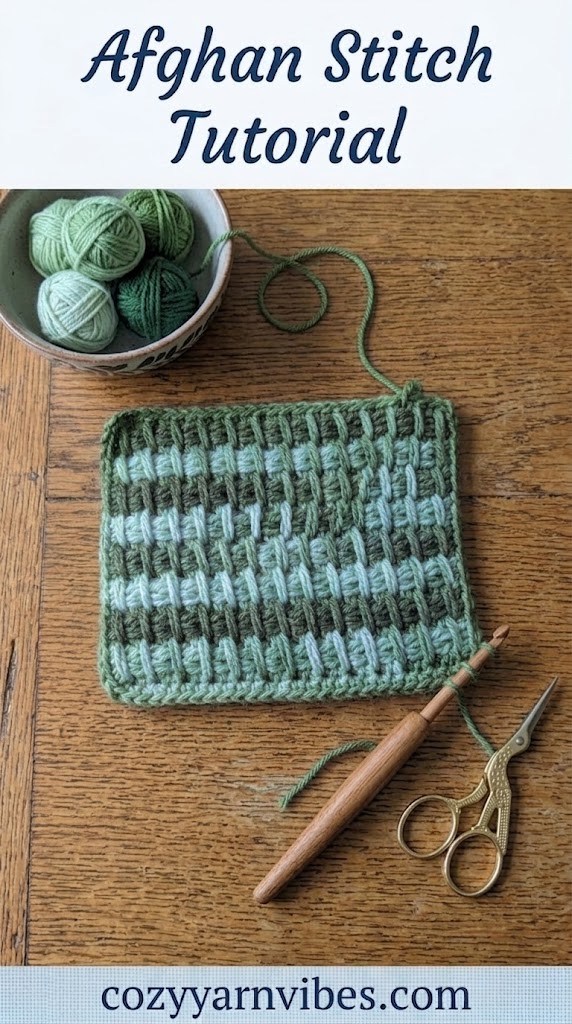
You can experiment with different yarn colors to create stripes, color blocks, or geometric patterns. Changing the yarn weight can also affect the thickness and drape of the fabric.
The stitch can also be combined with other Tunisian crochet techniques to create more decorative textures and patterns.
For a simple beginner project, start with one color until you become comfortable with the forward and return passes. Once the basic movement feels natural, experiment with color changes and other stitch combinations.
More Crochet Stitch Tutorials
Continue building your crochet skills with these beginner-friendly stitch guides:
- Single Crochet Stitch (sc)
- Half Double Crochet Stitch (hdc)
- Double Crochet Stitch (dc)
- Treble Crochet Stitch (tr)
- Shell Stitch
Learning the Afghan stitch gives you another useful technique for creating thick, textured crochet fabric. Once you understand the forward and return passes, you can use the stitch for many different projects.
Conclusion
The Afghan stitch is a classic crochet technique that creates a thick, woven texture using a simple two-part row structure. Although holding several loops on the hook may feel unusual at first, the process becomes much easier with practice.
The key is to remember the two main steps: pick up loops during the forward pass, then work them off during the return pass. Keep your tension even, count your loops, and pay close attention to the vertical bars.
Once you are comfortable with the basic stitch, you can use it for blankets, scarves, bags, home décor, garments, and accessories.
Frequently Asked Questions (FAQs)
1. Is the Afghan stitch suitable for beginners?
Yes. The basic Afghan stitch is suitable for beginners who are comfortable with making chains and working simple crochet stitches. The two-pass construction may take some practice, but the movement becomes easier with repetition.
2. What yarn is best for the Afghan stitch?
You can use many different yarn types and weights. Medium-weight yarn is a good choice for practicing because the stitches are easy to see. Soft yarn works especially well for blankets and scarves.
3. What crochet hook should I use?
Use the hook recommended for your yarn, or choose a slightly larger hook if your stitches are too tight. A Tunisian crochet hook can be useful because it is designed to hold multiple loops.
4. Can the Afghan stitch be used for blankets?
Yes. Afghan stitch is especially suitable for blankets because it creates a dense and warm fabric. It can also be used to make decorative throws and baby blankets.
5. Why is my Afghan stitch too tight?
Your tension may be too tight, or your hook may be too small for the yarn. Try loosening your tension or using a slightly larger hook to create larger, more comfortable loops.
6. Why are the edges of my Afghan stitch uneven?
Uneven edges can happen when the first or last stitch is missed or worked differently from row to row. Count your stitches and make sure you work the edge stitches consistently throughout the project.
7. Is Afghan stitch the same as Tunisian simple stitch?
The basic Afghan stitch is closely associated with Tunisian simple stitch, and the names are sometimes used interchangeably. Terminology can vary between patterns, so always check the specific instructions being followed.
8. Can Afghan stitch be worked with multiple colors?
Yes. You can change colors between rows or use different color combinations to create stripes and other designs. Make sure your yarn changes are kept neat at the edges.