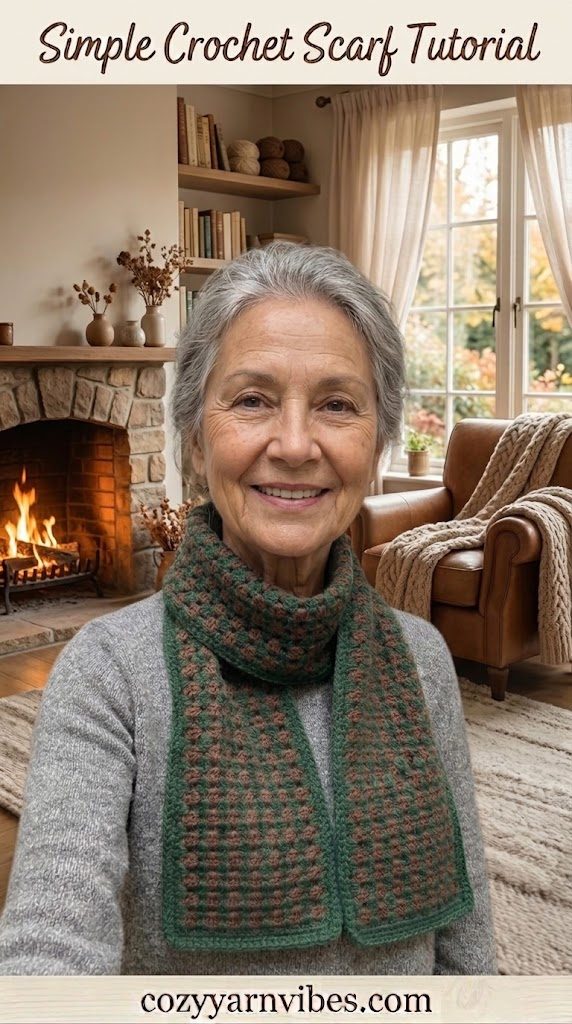
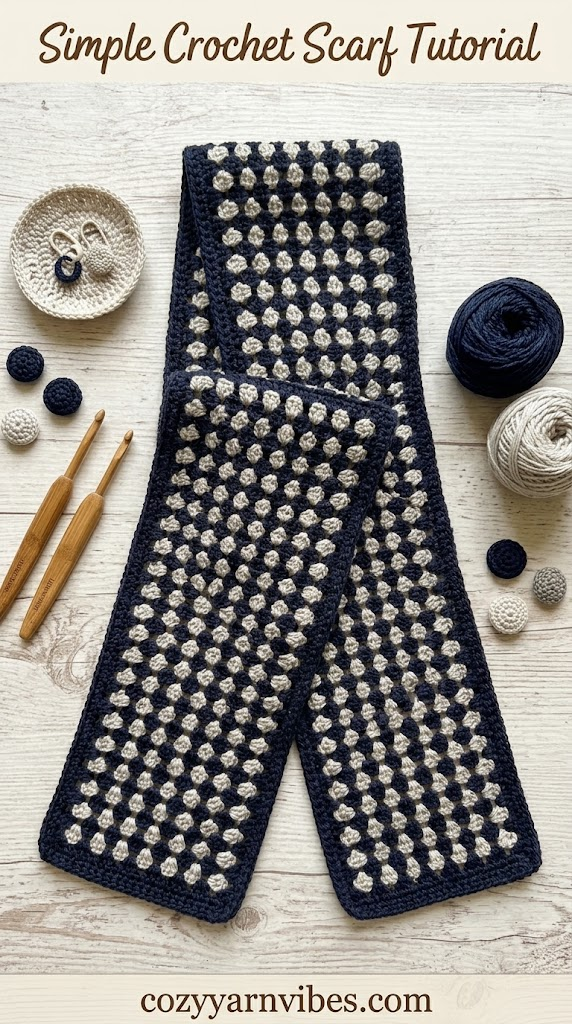
Looking for a cozy and easy project to welcome the cooler days? This Crochet Scarf Tutorial is a simple handmade accessory that is perfect for fall. With an easy stitch pattern and a soft, warm yarn, this scarf works up quickly and can be customized to your favorite length, width, and color.
This Crochet Scarf Tutorial is suitable for beginners who are comfortable with basic crochet stitches. It makes a warm and comfortable scarf that you can wear with jeans, sweaters, coats, or your favorite fall outfits.
Easy Crochet Scarf Tutorial
According to this Crochet Scarf Tutorial, the scarf is worked in rows from one end to the other. The simple construction makes it easy to follow, even if you are still learning how to crochet.
The scarf begins with a foundation chain that determines its length. After that, you will work the same basic stitch pattern across each row until the scarf reaches your preferred width.
The finished scarf has a soft texture and cozy feel, making it a lovely handmade accessory for fall and winter.
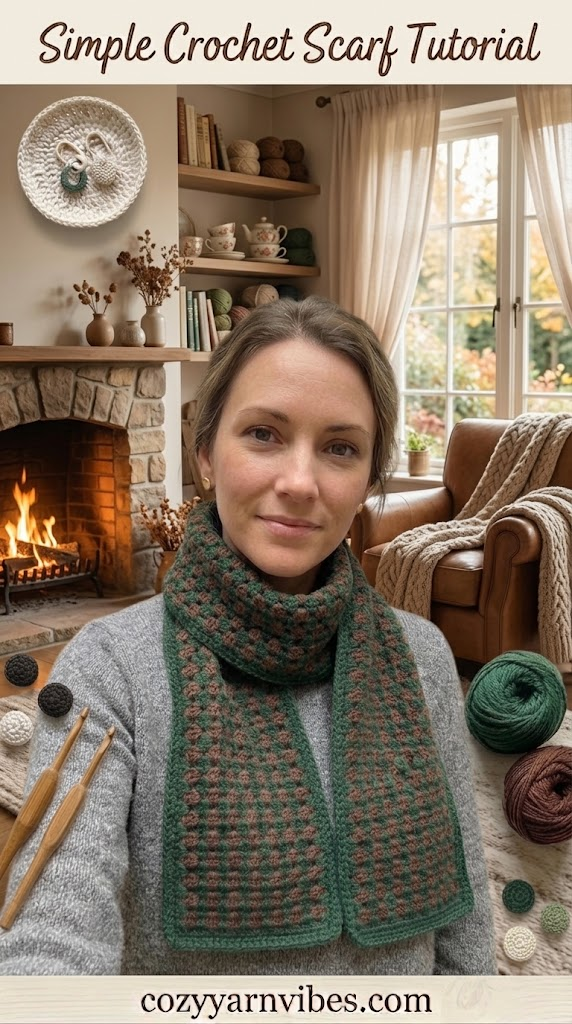
Why You’ll Love This Pattern
- Beginner-friendly construction
- Uses simple crochet stitches
- Quick and relaxing project
- Easy to customize
- Perfect for fall and winter
- Makes a thoughtful handmade gift
- Works beautifully in solid or autumn-inspired colors
Skill Level
Beginner
If you already know how to make chain stitches, single crochet, and double crochet, you can easily follow this Crochet Scarf Tutorial. The repeated rows make the pattern simple to memorize once you get started.
Finished Size
Approximately:
Width: 7–8 inches
Length: 60–65 inches
You can easily make the scarf wider or narrower by adjusting the number of rows. To change the length, simply make more or fewer foundation chains.
Materials Needed
Yarn
• Medium weight yarn (#4)
• Approximately 350–450 yards
Choose a soft yarn that feels comfortable against your skin. Acrylic, wool-blend, or soft acrylic yarn can work well for a warm fall scarf.
Color
• Rust, mustard, cream, brown, olive, burgundy, or any color of your choice
Warm autumn shades are especially beautiful for this project, but you can choose any color that matches your wardrobe.
Additional Supplies
5 mm (H) crochet hook
Yarn needle
Scissors
Measuring tape
Stitches & Abbreviations (US Terms)
ch = chain
sc = single crochet
dc = double crochet
sl st = slip stitch
st = stitch
rep = repeat
How to Make These Stitches
Chain (ch)
Make a slip knot on your hook. Yarn over and pull the yarn through the loop on your hook. Continue repeating this process until you have the required number of chains.
Single Crochet (sc)
Insert the hook into the indicated stitch and pull up a loop. You will have two loops on the hook. Yarn over and pull through both loops to complete the single crochet.
Double Crochet (dc)
Yarn over and insert the hook into the indicated stitch. Pull up a loop so you have three loops on the hook. Yarn over and pull through two loops. Yarn over again and pull through the remaining two loops.
Pattern Notes for Crochet Scarf Tutorial
This scarf is worked flat in rows from one end to the other.
The foundation chain determines the length of the finished scarf, while the number of rows determines its width.
Keep your tension even throughout the project so the scarf maintains a consistent shape. If your edges become uneven, count your stitches at the end of each row.
You can make the scarf longer, shorter, wider, or narrower by adjusting the foundation chain and number of rows.
Crochet Scarf Tutorial: Step-by-Step
This simple Crochet Scarf Tutorial is worked in just three repeating rows. The pattern starts with a row of single crochet stitches, followed by two rows of double crochet stitches. The combination creates a simple open texture that is warm, comfortable, and perfect for a fall scarf.
Step 1: Make the Foundation Chain
Start by making a slip knot on your crochet hook.
Chain until you reach your desired scarf length. Remember that the length of your foundation chain will determine the length of the scarf, not its width.
For example, if you want a longer scarf that can wrap around your neck several times, make a longer foundation chain. If you want a shorter scarf, make fewer chains.
Try to keep your chain stitches loose and even so the first row is easier to crochet.
Step 2: Work Row 1
Once your foundation chain is complete, begin Row 1.
Insert your hook into the second chain from the hook and make 1 single crochet (sc).
Continue making 1 single crochet into every chain across the entire foundation chain.
When you reach the end of the row, you should have a row of even single crochet stitches.
Chain 3 and turn your work to begin Row 2.
Step 3: Work Row 2
For Row 2, we will switch from single crochet to double crochet stitches.
Start by making 2 double crochets (dc) in the first stitch.
Next, skip the next stitch.
Then make 2 double crochets in the following stitch.
Again, skip the next stitch.
Continue this simple sequence across the row:
2 dc in the next stitch, skip 1 stitch, 2 dc in the next stitch, skip 1 stitch.
Keep repeating this pattern until you reach the end of the row.
The skipped stitches create small spaces between the groups of double crochets. These spaces will be used in the next row.
When you finish Row 2, turn your work to begin Row 3.
Step 4: Work Row 3
Row 3 is very simple because you will work into the spaces created in Row 2.
Look at the previous row and find the open spaces between the groups of double crochet stitches.
Into the first space, work 2 double crochets.
Then move to the next space and work 2 double crochets into it.
Continue working 2 double crochets into each space across the row.
There is no need to work into the individual stitches. Simply look for the open spaces between the groups from Row 2 and place 2 double crochets into each space.
Step 5: Repeat the Pattern
Once Row 3 is complete, turn your work and repeat the same simple sequence.
Continue working the pattern until the scarf reaches your desired width.
The basic repeat is:
2 dc into each space across.
Keep repeating these rows until your scarf is as wide as you want it to be.
Step 6: Finish the Scarf
When your scarf reaches the desired width in the last row make a row of sc without any stitches skip to give the scarf a clean look.
Cut the yarn, leaving a few inches of yarn for weaving in the end. Pull the yarn through the final loop and gently tighten it.
Use a yarn needle to weave the loose end securely into the stitches on the back of the scarf. Repeat this process with any other loose yarn ends.
Your simple Crochet Scarf Tutorial is now complete.
Customization Ideas
Solid Color Scarf
Crochet the entire scarf in one color for a classic and versatile accessory. Cream, beige, brown, burgundy, and mustard are especially suitable for fall.
Striped Crochet Scarf
Change colors every few rows to create stripes. Try combining two or three autumn colors for a seasonal look.
Long Crochet Scarf
Add more foundation chains to create a longer scarf that can be wrapped several times around your neck.
Wide Crochet Scarf
Simply add more rows to make the scarf wider and warmer. A wider version can also be worn as a cozy wrap.
Fringed Scarf
Add fringe to both short ends of the scarf for a classic finishing detail. Cut several equal lengths of yarn and attach them evenly along each edge.
Styling Ideas
This Crochet Scarf Tutorial creates a versatile accessory that can be styled in many different ways. For a casual fall outfit, wear the scarf with jeans, ankle boots, and a warm sweater.
For a more polished look, wrap it around a long coat and pair it with trousers or a skirt. You can also loosely drape the scarf around your shoulders when you want a relaxed style.
Choose earthy colors such as rust, mustard, olive, cream, and brown to create a classic autumn-inspired look.
Care Instructions
Always check the yarn label for specific washing instructions. For most handmade scarves, gentle hand washing in cool or lukewarm water is a safe option.
Use a mild detergent and avoid twisting or wringing the scarf. Gently squeeze out excess water and lay the scarf flat on a clean towel to dry.
Avoid hanging the scarf while it is wet because the weight of the water can stretch the crochet fabric.
Frequently Asked Questions
Is this scarf suitable for beginners?
Yes. This Crochet Scarf Tutorial is beginner-friendly and uses basic stitches such as chain, single crochet, and double crochet. The repeated rows also make it easy to practice your tension.
Can I make the scarf longer?
Absolutely. Simply make a longer foundation chain before beginning the first row. Measure the chain against your preferred scarf length before starting the main pattern.
Can I make the scarf wider?
Yes. Add more rows to increase the width. Continue until the scarf reaches the size you prefer.
Which yarn works best for this scarf?
Medium weight #4 yarn is a good choice for this pattern. Soft acrylic, wool-blend, and other comfortable yarns can create a warm scarf suitable for fall.
Can I use different colors?
Of course. You can make the scarf in one solid color, alternate two shades, or create colorful stripes. Fall shades such as rust, mustard, burgundy, cream, and olive work especially well.
Can I add fringe to the scarf?
Yes. Fringe is an easy way to give the finished scarf a classic decorative edge. Add it to both short ends after completing the main scarf.
Conclusion
This simple Crochet Scarf Tutorial is a wonderful project for welcoming the fall season. Its easy stitch pattern, cozy texture, and customizable size make it suitable for beginners as well as experienced crocheters looking for a relaxing project.
Whether you are making this scarf for yourself, creating a handmade gift, or preparing a few accessories for the cooler months, you can easily personalize it with different colors, lengths, widths, and finishing details.
Pick your favorite fall yarn and follow this Crochet Scarf Tutorial to create a warm handmade accessory that you can enjoy throughout the season.
For more crochet fall tutorial read our latest article on Crochet Pumpkin Bouquet.