
Cozy Yarn Vibes · Christmas Crochet
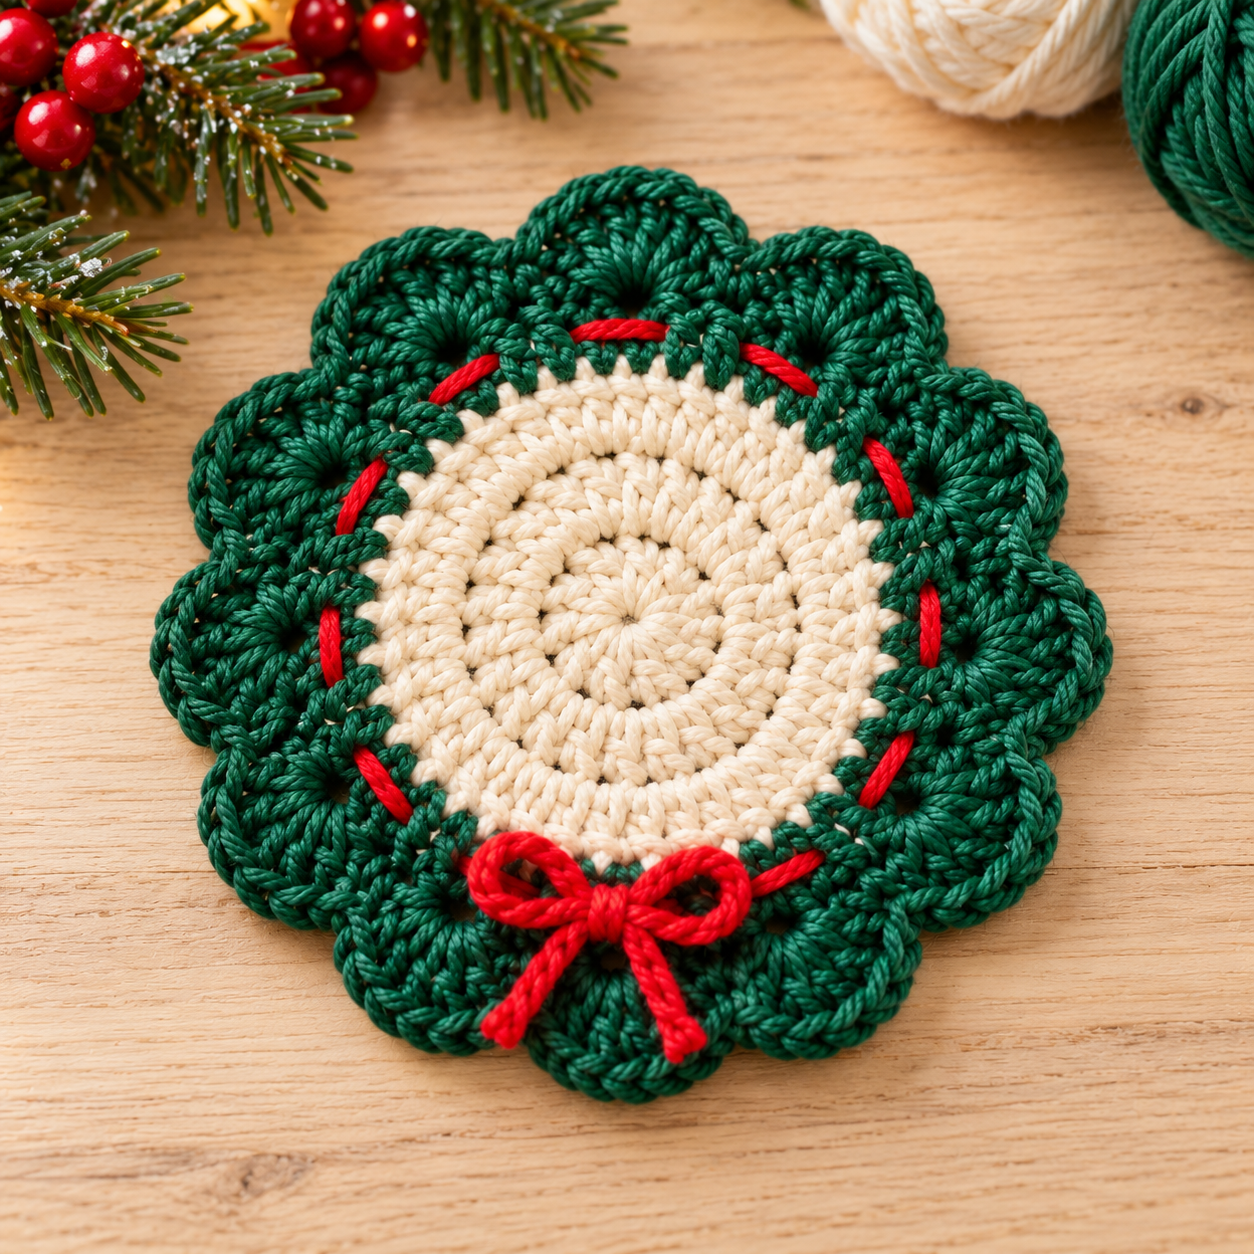
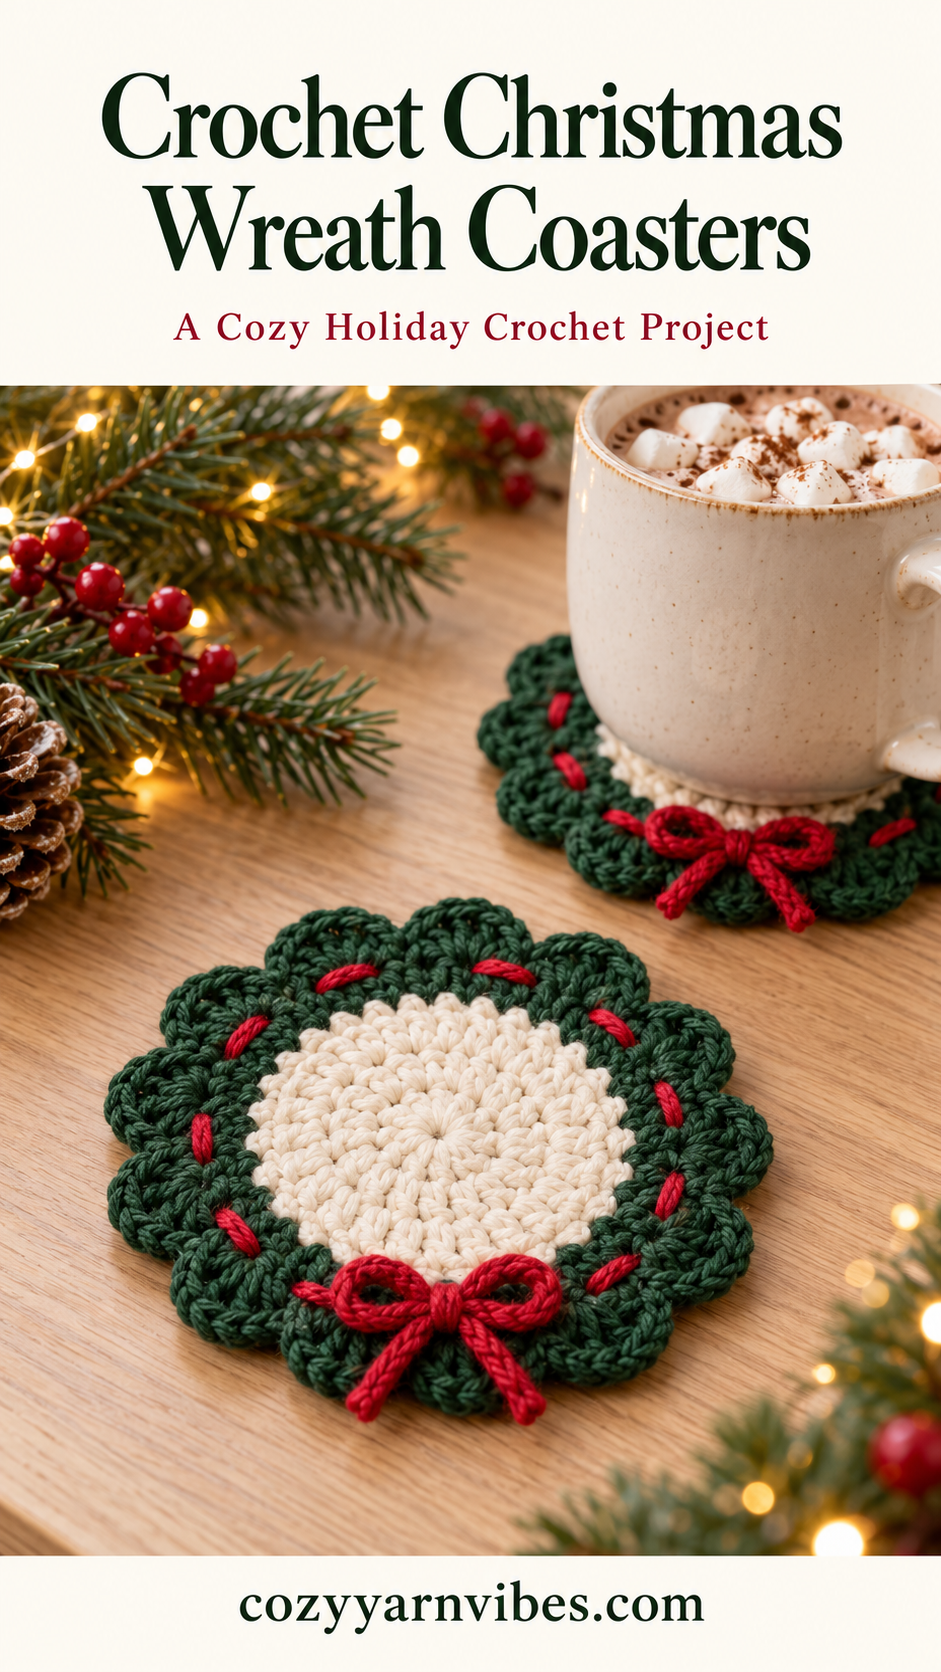
A little cream circle, a leafy green edge, and a red bow—this crochet Christmas wreath coaster brings a festive touch to your coffee table without needing a complicated project. Make one for your favorite holiday mug, or create a matching set to tuck into a handmade gift basket.
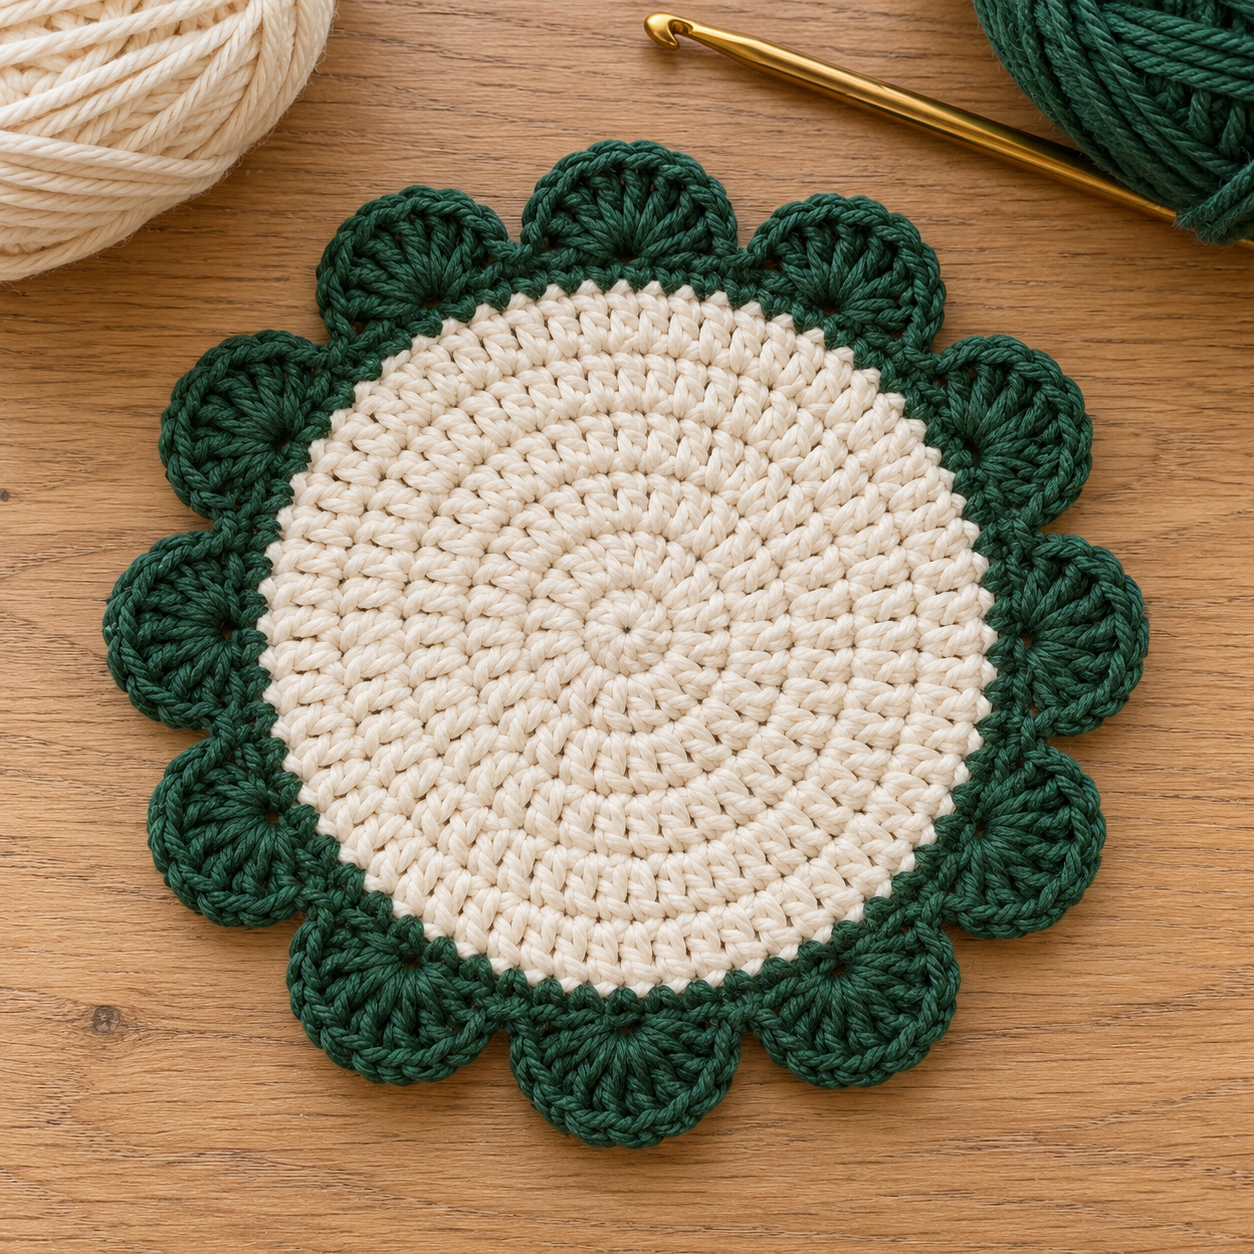
This version uses a solid half-double-crochet center, followed by a single-crochet border and twelve double-crochet scallops. Red embroidery and a small yarn bow finish the wreath around the outside of the coaster.
Sizing Guide and Gauge
The most useful measurement is the cream center, because this is where the cup sits. Measure the bottom of your mug—not its rim—and make sure the entire base fits on the center, with some room around it. The bow should remain beyond the cup’s footprint.
| Measurement | Planning target |
|---|---|
| Cream center | Approximately 9–10 cm / 3½–4 inches across |
| Finished coaster, including scallops | Approximately 12–14 cm / 4¾–5½ inches across |
| Suggested gauge starting point | About 16–18 hdc and 12–14 rows per 10 cm / 4 inches in a flat hdc swatch |
These are untested planning estimates, not guaranteed finished measurements. Crochet in the round can differ from a flat gauge swatch. Your completed center is the deciding measurement; yarn thickness, tension, and hook size affect the result.
Materials You Will Need
- Smooth worsted-weight cotton yarn: cream for the center, deep green for the edging, and red for the decoration.
- Yarn allowance per coaster: set aside approximately 20 g cream, 15 g green, and 3 g red. These are generous, untested supply allowances; exact consumption needs a sample.
- 4 mm crochet hook as a starting point; adjust to your yarn and tension.
- Yarn needle, scissors, removable stitch marker, and measuring tape.
- A clean towel or blocking mat for drying and shaping.
Choose cotton that makes a firm but flexible fabric. Smooth yarn makes the stitches easier to count and the cup area easier to keep level. Check colorfastness before combining red or green with cream. This is a beverage coaster; it is not a tested hot pad for cookware.
Stitches and Abbreviations
| Abbreviation | Meaning |
|---|---|
| ch | Chain |
| sl st | Slip stitch |
| sc | Single crochet |
| hdc | Half double crochet |
| dc | Double crochet |
| inc | For the cream rounds: work 2 hdc into the same stitch |
| st / sts | Stitch / stitches |
| […] × 8 | Work the complete bracketed sequence eight times |
| shell | Work 5 dc into one indicated stitch |
How to Crochet the Stitches
Magic ring
Make a loop with the yarn tail crossed beneath the working yarn. Insert your hook through the loop, pull up the working yarn, and ch 1 to secure it. Work the first round over both the loop and tail. Pull the tail to close the center, then join as directed. Secure this tail carefully during finishing so the ring cannot reopen.
Chain and slip stitch
For a chain, yarn over and pull through the loop on your hook. For a slip stitch, insert the hook into the indicated stitch, yarn over, and pull through both the stitch and the loop already on the hook.
Single crochet
Insert the hook into the stitch, yarn over, and pull up a loop. Yarn over again and pull through both loops on the hook.
Half double crochet
Yarn over, insert the hook into the stitch, yarn over, and pull up a loop. You now have three loops. Yarn over and pull through all three loops together.
Double crochet
Yarn over, insert the hook into the stitch, yarn over, and pull up a loop. Yarn over and pull through two loops; yarn over once more and pull through the remaining two loops.
Increase and shell
An hdc increase means making two complete hdc stitches into the same stitch. A shell means making five complete dc stitches into the same stitch. Keep all five stitches in that one base stitch; do not distribute them across neighboring stitches.
Pattern Notes Before You Begin
- Work through both top loops of each stitch unless instructed otherwise.
- Every starting ch 1 is a lifting chain only and does not count as a stitch.
- Join each cream round with a sl st into its first hdc. Join the green foundation into its first sc.
- Do not crochet into a joining sl st or the starting chain on the next round.
- Place the first stitch of each round in the same base stitch used for the previous join.
- Mark the first actual stitch and count every round before continuing.
- The cream center gains eight stitches per increase round. The green foundation keeps the final center count unchanged.
Crochet Christmas Wreath Coaster: Written Pattern
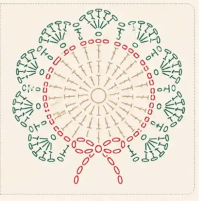
Step 1: Make the cream center
Round 1
With cream, make a magic ring. Ch 1, then work 8 hdc into the ring. Pull the ring closed. Sl st into the first hdc.
Total: 8 hdc.
Round 2
Ch 1. Work 2 hdc into each stitch around. Sl st into the first hdc.
Total: 16 hdc.
Round 3
Ch 1. Repeat [hdc in the next stitch, 2 hdc in the next stitch] 8 times. Sl st into the first hdc.
Total: 24 hdc.
Round 4
Ch 1. Repeat [hdc in each of the next 2 stitches, 2 hdc in the next stitch] 8 times. Sl st into the first hdc.
Total: 32 hdc.
Round 5
Ch 1. Repeat [hdc in each of the next 3 stitches, 2 hdc in the next stitch] 8 times. Sl st into the first hdc.
Total: 40 hdc.
Round 6
Ch 1. Repeat [hdc in each of the next 4 stitches, 2 hdc in the next stitch] 8 times. Sl st into the first hdc. Fasten off cream.
Total: 48 hdc.
Lay the center on a level surface. Check that it is reasonably flat, measure it, and test the fit of your mug before adding the border. If the cream area is too small, use the larger-center instructions below. A lightly angular outline can appear where increases line up.
Step 2: Add the green foundation
Round 7
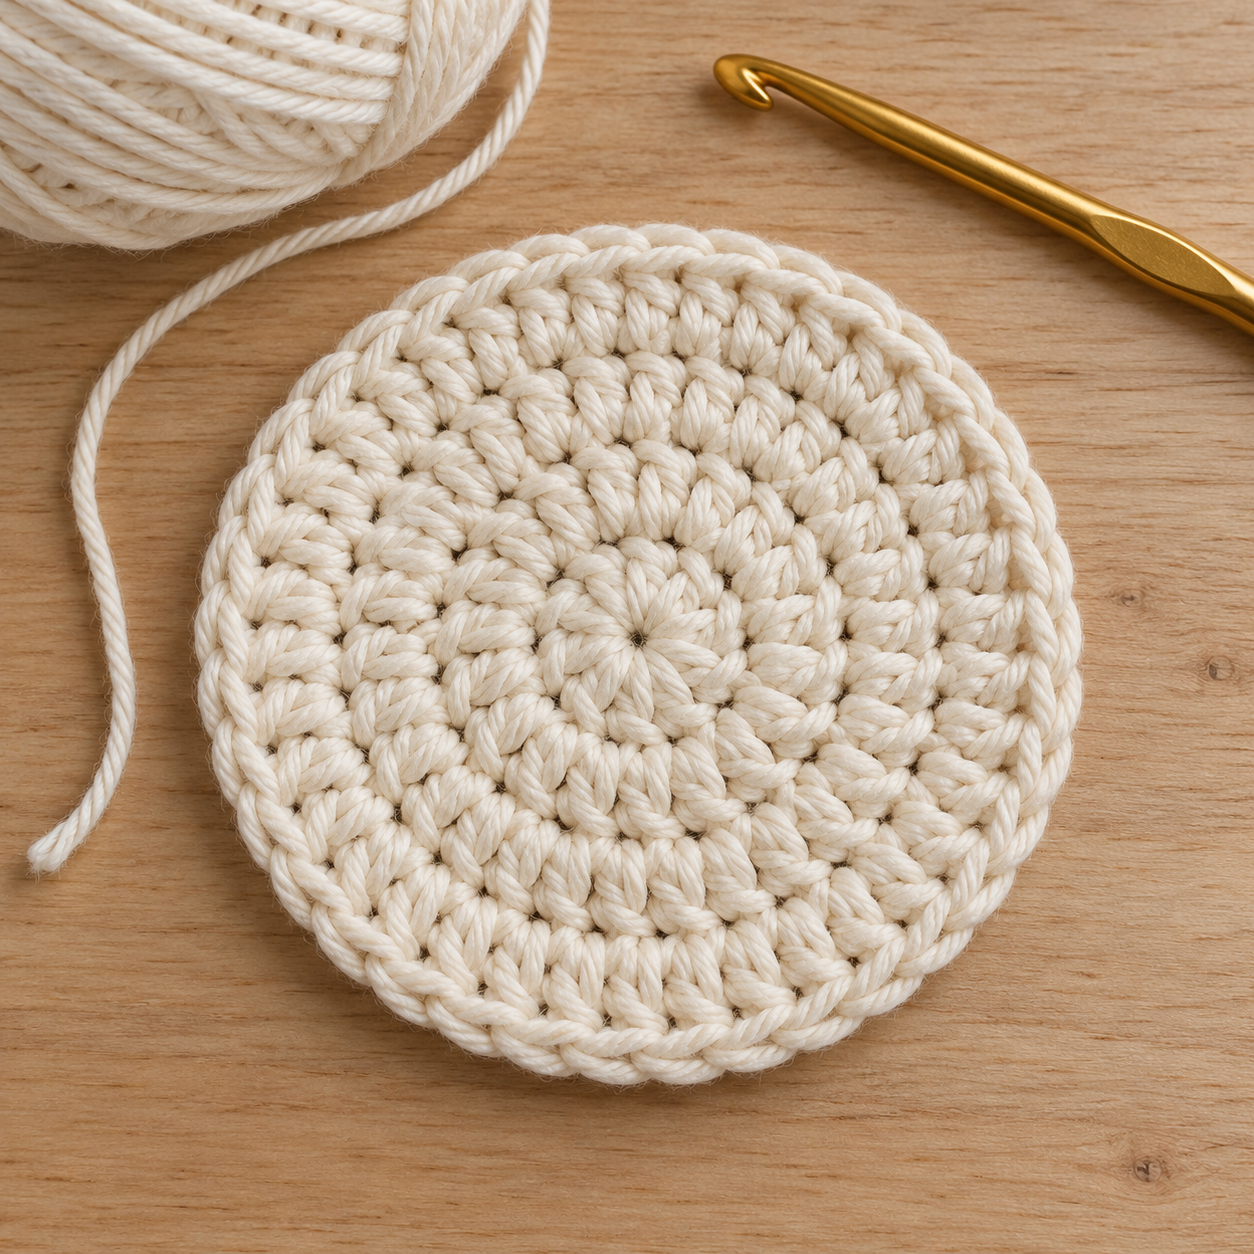
Join green with a sl st into any cream stitch. Ch 1. Work 1 sc into that same stitch, then 1 sc into each of the remaining 47 stitches. Sl st into the first sc.
Total: 48 sc.
Step 3: Crochet the scalloped wreath edge
Round 8
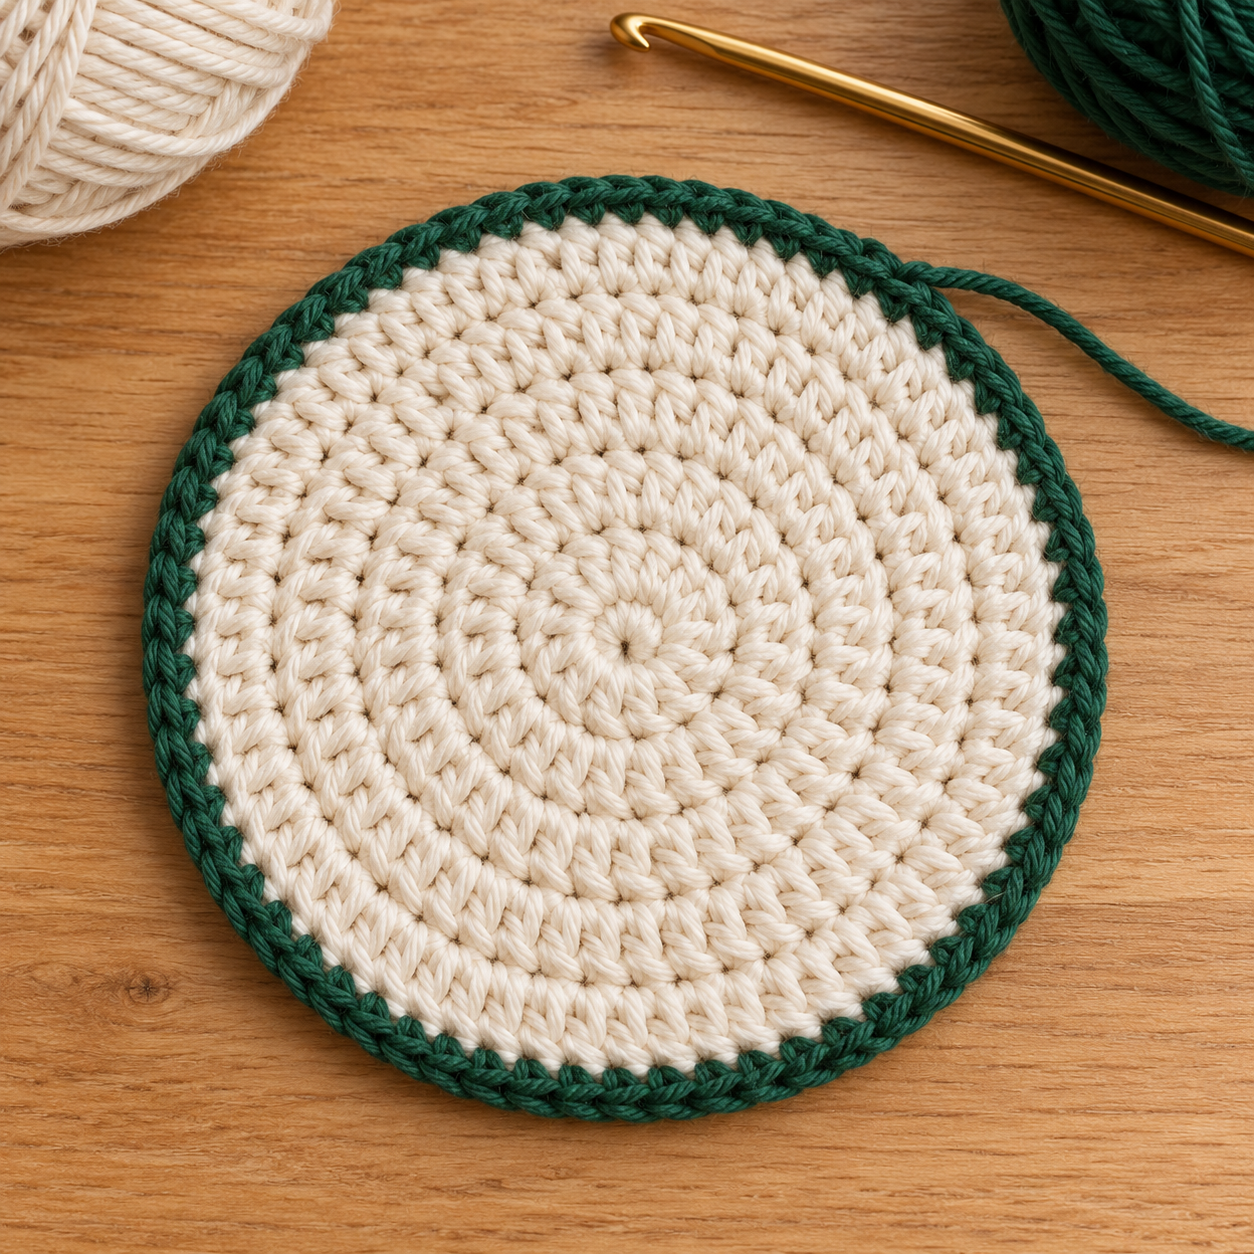
Ch 1. Starting in the same stitch as the join, repeat [sc in the next stitch, skip the next stitch, work 5 dc in the next stitch, skip the next stitch] 12 times. Sl st into the first sc. Fasten off green.
Total: 12 shells and 12 sc; each shell contains 5 dc, giving 60 dc altogether.
Step 4: Add Red Trim and a Bow
Embroider the red accents
- Cut approximately 80–100 cm of red yarn as a starting allowance and thread your yarn needle.
- Work around the green foundation round, placing a short red dash beneath each shell. Use the valleys between shells as your placement guides.
- Bring the needle from the back to the front near one side of a shell’s base, then pass it back through near the other side. Carry the strand loosely along the back to the next shell.
- Repeat around all twelve shells, laying the coaster flat frequently to prevent gathering.
- Secure and weave in both ends on the back of the green border.
The embroidery is decoration, not another crochet round. Keep its back carries short and relaxed; avoid long loose strands across the center that could catch or make the cup wobble.
Attach a small red bow
Cut a separate 25–30 cm length of red yarn and tie a small bow. Adjust the loops, then use another short red strand to stitch the knot to a valley between two scallops. Secure the attachment on the back and weave in its ends. Trim the bow tails to the length you prefer.
Position the knot at the outer edge. Set the mug on the coaster again: its base should touch only the level center, with no contact against the bow. Omit the bow if you prefer a flatter finish.
Weave in ends and shape
Thread each crochet tail through several stitches on the reverse, changing direction to secure it. Spread the tails out rather than forming a thick bundle under the cup. Dampen the coaster according to the yarn label, smooth it gently on a towel, arrange the scallops, and let it dry completely. Blocking can tidy the shape but cannot repair incorrect stitch counts.
Customization and Size Adjustments
Make a larger cream center
After cream Round 6, keep working in cream instead of fastening off:
- Extra cream Round A: Ch 1; repeat [hdc in each of the next 5 stitches, 2 hdc in the next stitch] 8 times. Join into the first hdc. 56 hdc.
- Extra cream Round B, optional: Ch 1; repeat [hdc in each of the next 6 stitches, 2 hdc in the next stitch] 8 times. Join into the first hdc. 64 hdc.
Fasten off cream at your selected size. Work one green sc into every cream stitch, then use the same four-stitch scallop repeat. With 56 foundation stitches, work 14 repeats; with 64 stitches, work 16 repeats. Add one embroidered dash per shell.
| Center count | Green foundation | Shell repeats | Border totals |
|---|---|---|---|
| 48 hdc | 48 sc | 12 | 12 sc + 60 dc |
| 56 hdc | 56 sc | 14 | 14 sc + 70 dc |
| 64 hdc | 64 sc | 16 | 16 sc + 80 dc |
Measure each size rather than assuming a fixed diameter. Stop increasing when the center comfortably supports your cup.
Try another festive palette
- Soft Christmas: ivory, sage, and dusty rose.
- Woodland: oatmeal, forest green, and burgundy.
- Simple winter: cream and green, with the embroidery omitted.
For a matching set, use the same yarn range, hook, and round count. You can also use one coaster as a small decorative base for a jar or holiday ornament.
Troubleshooting Your Coaster
The cream center forms a bowl
Check for missed increases and stitches accidentally skipped at the join. Confirm the round totals first. If the count is correct, make a fresh sample with slightly looser tension or a modestly larger hook. Eight increases per hdc round is a starting construction; individual yarn and tension may still need adjustment.
The center ripples
Count for extra increases, particularly at the beginning and end of each round. The joining sl st must not receive an extra stitch. If the totals are correct and the fabric still waves, test a slightly smaller hook. Do not rely on heavy stretching or ironing to flatten the fabric.
The green edge will not lie flat
Check for exactly four foundation stitches per shell repeat and five dc per shell. If the center is flat but the border cups, the green stitches may be too tight; remake the edging with a slightly larger hook. If it waves strongly, test a smaller hook for the edging.
The red trim pulls the edge inward
Undo the tight section and sew it again with the coaster lying flat. The red strand should rest on the fabric without cinching it.
The mug rocks
Check for a bow overlapping the cup area or bulky tails underneath. Move the bow outward, reweave the tails, or choose a larger-center version.
Care Instructions and Gift Ideas
Follow the yarn label for washing. If the yarn permits hand washing, use mild detergent, rinse gently, and press out excess water in a towel. Reshape and dry flat. Wash a test swatch first to check whether the red or green releases color into the cream.
Allow damp coasters to dry before stacking them. Avoid stiffening products if you want a soft, absorbent coaster. Keep it for cups and glasses; use a purpose-made heat-resistant pad for hot pans or baking dishes.
To gift a set, make four matching coasters, stack them after they have dried, and tie with a ribbon. Add a tag with the fiber content and washing instructions. Pair them with a mug and a little packet of cocoa for a cozy Christmas present.
Frequently Asked Questions
Is this the exact pattern shown in the picture?
No. This is a written interpretation using an hdc center and a counted scalloped edge. It recreates the cream, green, and red wreath style, but the photo and its illustrated chart do not establish the exact construction.
Has this pattern been tested?
The stitch arithmetic and border repeats have been checked. It has not been physically sample tested, so finished size, yarn consumption, and flatness need confirmation with your yarn before making a full set.
Can a beginner make it?
Yes, if you are comfortable with hdc, dc, and counting joined rounds. Practice a small circle first if keeping track of the join is new to you.
Does the starting chain count as a stitch?
No. Every round begins with ch 1 for height only. Join into the first actual hdc or sc, as directed.
Can I use acrylic yarn?
Cotton is the suggested choice for this version. Another fiber will change the feel, absorbency, and size, so make a sample and follow its care instructions. Do not use this coaster as a hot-pan holder.
Can I skip the magic ring?
Ch 4 and sl st into the first chain to form a small ring. Ch 1 and work the eight Round 1 hdc into the ring space. This may leave a more visible center opening.
How do I know how many scallops to make?
Divide the green foundation count by four. The standard 48-stitch foundation gives twelve shells. The 56- and 64-stitch alternatives give fourteen and sixteen shells.
Can I leave off the bow?
Yes. The green scallops and red dashes still suggest a Christmas wreath, and omitting the bow gives a flatter decorative edge.

A COZY CHRISTMAS FIND
Love the Look but Don’t Have Time to Crochet?
Handmade details make a home feel extra cozy during the holidays, but sometimes there just isn’t enough time to make everything on your list.
If you love the charm of crochet coasters, explore this Windkream coaster and storage holder listing for your coffee table, festive gatherings, or a thoughtful gift for someone who loves handmade style.
Add a little cozy charm to your lovely home and enjoy your favorite warm drink in festive style.
This section contains an affiliate link. As an Amazon Associate, I earn from qualifying purchases.
Shop the Coaster Set on Amazon ↗Check the Amazon listing for the design, contents, dimensions, price, and delivery details.