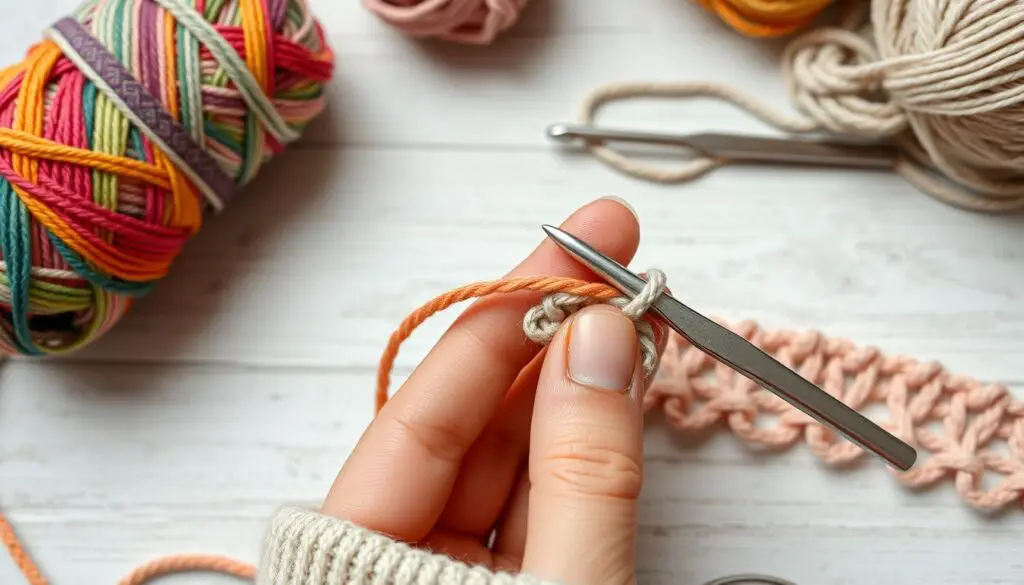
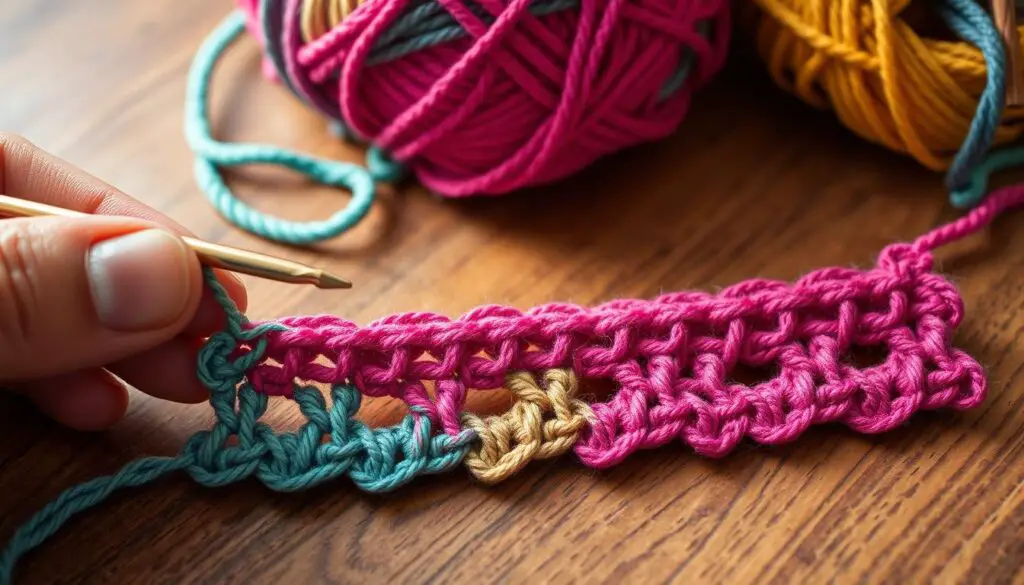
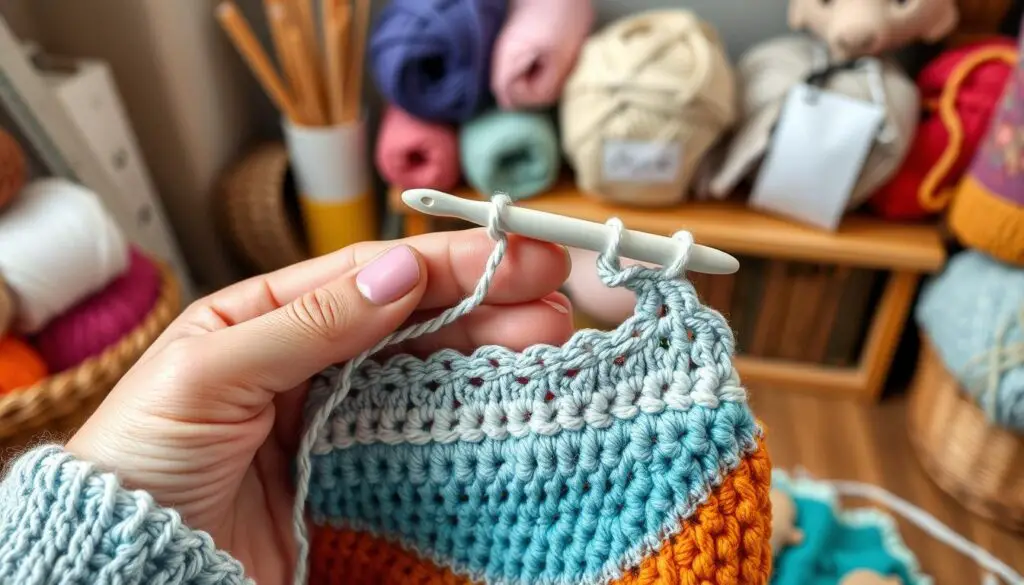
Crochet is a fun craft that lets you make many things, like cozy blankets and pretty lace items. It starts with basic skills that every beginner needs to know. We’ll cover how to make a slip knot, create a chain, and turn your work. These skills are the foundation for all your crochet projects.

Key Takeaways
- Understanding the slip knot, chain, and turning techniques are crucial for starting any crochet project
- Mastering these basics will provide a strong foundation for progressing to more advanced crochet patterns
- Proper hand positioning and crochet terminology familiarity are essential for executing these techniques correctly
- Troubleshooting common mistakes, such as loose knots or uneven chain stitches, will help ensure consistent results
- Maintaining consistent tension and properly counting chain stitches are key to achieving clean, professional-looking crochet work
Getting Started with Basic Crochet Techniques
Starting your crochet adventure? First, you need the right crochet supplies and to know the basic terms. With the right tools and knowledge, you’ll soon make beautiful crochet projects.
Essential Tools for Beginners
To start crocheting, you’ll need a few basic items:
- Crochet hooks in various sizes, depending on your yarn selection
- Scissors to cut your yarn
- Stitch markers to keep track of your work
- A tape measure or ruler for accurate sizing
Understanding Crochet Terminology
Before you start crocheting, learn common terms. This makes following patterns and instructions easier. Key terms include:
- Chain (ch)
- Single crochet (sc)
- Double crochet (dc)
- Slip stitch (sl st)
Proper Hand Positioning
Correct hand positioning is crucial for control and consistent stitches. Here’s how to hold your crochet hook and yarn:
Keep your hands relaxed and your movements smooth for the best results.
Mastering the Slip Knot, Chain, and Turning Your Work
Crochet is an art that starts with the basics. At its heart are three key skills: the slip knot, chain stitches, and turning your work. These skills are the foundation for any crochet project, from simple scarves to complex afghans.
Crafting the Perfect Slip Knot
The slip knot is where every crochet project begins. It’s the loop that holds your yarn in place, letting you start stitching. Getting the slip knot right takes practice, but once you do, it becomes easy. A well-made slip knot is tight and ready for your first chain stitch.
Mastering the Chain Stitch
The chain stitch is the base of crochet, essential for any project. It’s what holds your work together, from simple scarves to intricate patterns. Keeping your tension even and your rhythm steady is key to making beautiful chains.
Turning Your Crochet Work
Turning your work is a crucial skill for moving from one row to the next. Doing it right keeps your stitches aligned and your project looking professional. Knowing how to identify the right and wrong sides of your work and how to turn correctly is vital.
Learning the slip knot, chain stitches, and how to turn your work might seem hard at first. But with practice and patience, these skills will become second nature. Mastering these basics opens up a world of possibilities in crochet, allowing you to create unique and stunning projects.
Creating Your First Slip Knot
Learning the slip knot technique is key to starting any crochet project. It’s a simple yet essential step. It ensures your stitches have a solid base. Let’s explore how to make your first slip knot.
Common Slip Knot Mistakes
As a beginner, you might face a few slip knot challenges. The main issues are:
- Tight or loose tension: The slip knot should be snug but easy to work with.
- Incorrect loop size: The loop should fit your crochet hook well but not be too big.
- Uneven or messy appearance: A good slip knot looks neat and symmetrical.
Troubleshooting Loose Knots
If your slip knot is too loose, try these tips:
- Gently tug on the yarn ends to tighten the knot.
- Make the loop a bit smaller to prevent looseness.
- Use beeswax or crochet thread conditioner to keep the knot tight.
With practice and these tips, you’ll master secure slip knots. This will help you start your crochet projects with confidence.
Foundation Chain Basics
In the world of crochet, the crochet chain stitch is key. It’s called the starting chain or foundation row. It’s the base for many projects, from scarves to afghans.
The foundation chain is vital. It shapes, sizes, and controls the tension of your project. A good starting chain ensures a smooth fabric.
Importance of a Strong Foundation
The crochet chain stitch is crucial. It needs care and detail. A tight, even foundation chain keeps tension consistent.
By mastering the starting chain, you’ll have a better crocheting experience. It sets you up for success.
“The foundation chain is the foundation of your crochet project, so it’s important to get it right. Take the time to create a strong, even starting chain for best results.”
Knowing the crochet chain stitch and foundation row is essential. It helps you build a strong base for future projects. With practice, you’ll create beautiful starting chains for your next project.

Maintaining Consistent Chain Tension
Getting your crochet chain stitches to have the same tension is key for even fabrics. The right tension makes your work look better and keeps it strong. Here, we’ll share tips for even stitches and solve common tension problems.
Tips for Even Chain Stitches
Start with how you hold the hook. It should be neither too tight nor too loose. Keep your fingers relaxed while drawing up each loop. Don’t pull the yarn too hard, as this can make your stitches uneven.
- Keep the yarn tension even by holding it the same distance from the hook.
- Don’t let the yarn slide through your fingers too fast, as this can make chains loose.
- Try different hook sizes to find the best one for your yarn and tension.
Fixing Chain Tension Problems
If your chain stitches are uneven or too loose, there are ways to fix it. First, try gripping the hook a bit tighter. This helps prevent the yarn from slipping. You can also change how you hold the yarn.
If it still doesn’t work, try a different hook size. A smaller hook can make your chains tighter, while a larger one can loosen them. The goal is to find the perfect balance for your crochet style.
Mastering consistent chain tension will help you make beautiful, even crochet projects. Keep practicing and experimenting until you find what works best for you.
Proper Counting Techniques for Chain Stitches
Starting your crochet journey means learning to count chain stitches accurately. It’s key for keeping your work the right size and shape. Whether you’re following a pattern or making something up, getting the stitch count right is crucial.
Here are some tips to help you count chain stitches like a pro:
- Keep a Close Eye: Pay attention to each stitch as you crochet. Don’t rush. Count each loop as it forms.
- Use Your Fingers: Run your fingers along the chain. This helps you feel and count each stitch. It’s great for those who learn by touch.
- Mark Your Progress: Use a stitch marker at the end of each row or round. It helps keep track of your count. This is super useful for long projects.
- Double-Check Regularly: Stop to recount your chains often. This helps catch and fix mistakes early on.
Learning to count chain stitches well will make your crochet projects look amazing. You’ll get the chain length and crochet stitch count just right. Happy crocheting!
| Technique | Benefits | Challenges |
|---|---|---|
| Keeping a Close Eye | Helps you focus on each individual stitch | Can be easy to lose count if you’re not careful |
| Using Your Fingers | Provides a tactile way to count stitches | May slow down your overall crocheting pace |
| Marking Progress | Helps you keep track of your counting chain stitches | Requires additional tools and setup |
| Double-Checking | Allows you to catch and correct mistakes early | Can be time-consuming, especially for longer projects |
“Accuracy is the foundation of beautiful crochet. Master the art of crochet stitch count, and your projects will shine.”

Using these counting chain stitches tips will make your crochet projects flawless. Happy crocheting!
Understanding Work Direction and Turning
In the world of crochet, knowing how to work and turn is key. Learning about right and wrong sides, and how to turn chains, can make you better at crochet.
Right Side vs. Wrong Side
The right side of your crochet is what you’ll see when it’s done. It’s where the stitches look neat and the pattern is clear. The wrong side is the back, where stitches might look different and patterns are less clear.
Knowing the difference helps keep your crochet looking good. It’s important for the look you want in your projects.
Turning Chain Guidelines
Turning your crochet work is a basic skill. It lets you change the direction of your stitches. The turning chain, or “working chain,” is the base for the next row or round.
The number of chains for the turning chain depends on the stitch pattern. For example, a single crochet needs 1 chain, and a double crochet needs 3.
Getting good at turning is key for smooth transitions. Following the right guidelines makes your crochet look professional.
| Stitch | Turning Chain |
|---|---|
| Single Crochet (SC) | 1 chain |
| Half Double Crochet (HDC) | 2 chains |
| Double Crochet (DC) | 3 chains |
| Triple Crochet (TC) | 4 chains |
Understanding work direction and turning helps you do better crochet. Remember, the more you practice, the better you’ll get. So, don’t be shy to try new things and improve your skills.
Common Beginner Mistakes and Solutions
Starting your crochet journey can be a bit bumpy. You might struggle with slip knots or keep your chain stitches uneven. But don’t worry, with some practice, you’ll get the hang of it and become more confident.
One big issue is a slip knot that keeps coming undone. This can mess up your stitches and make your project hard to start. To fix this, play with your loop size and pull the yarn tight when tightening the knot. Getting your slip knot right is key to your project’s success.
Keeping your chain stitches even can also be tough. Uneven chains can make your project unstable. To solve this, aim for a relaxed yet controlled tension. Try different ways of holding the yarn and avoid pulling too hard. With time, you’ll find a rhythm that makes your chains even.
FAQ
What are the essential tools for beginning crocheters?
Essential tools for beginners include a crochet hook, yarn, scissors, a tapestry needle, and stitch markers. Choose the right hook size for your yarn and project.
How do I create a slip knot to start crocheting?
To make a slip knot, form a loop with your yarn. Then, thread the working end through the loop. Pull it tight to secure the knot. This is the start of your first chain stitch.
What is the purpose of the foundation chain in crochet?
The foundation chain is the starting point of your project. It sets the base row. The number of chains determines your work’s width.
How can I maintain consistent tension in my chain stitches?
To keep tension even, don’t pull the yarn too tight or too loose. Keep your fingers relaxed and use a steady rhythm when pulling through loops.
Why is it important to properly count my chain stitches?
Accurate chain stitch counting is key for following patterns and keeping your project’s dimensions right. It helps avoid mistakes and keeps your work on track.
How do I know the difference between the right side and wrong side of my crochet work?
The right side of your work is what you want to see in the finished project. The wrong side is the back or interior. Paying attention to work direction and turning is crucial for the right look.
What are some common beginner mistakes when working with slip knots, chains, and turning work?
Common mistakes include loose or tight slip knots, uneven chains, and wrong turns. Learning to fix these issues and mastering proper techniques can improve your crochet skills.