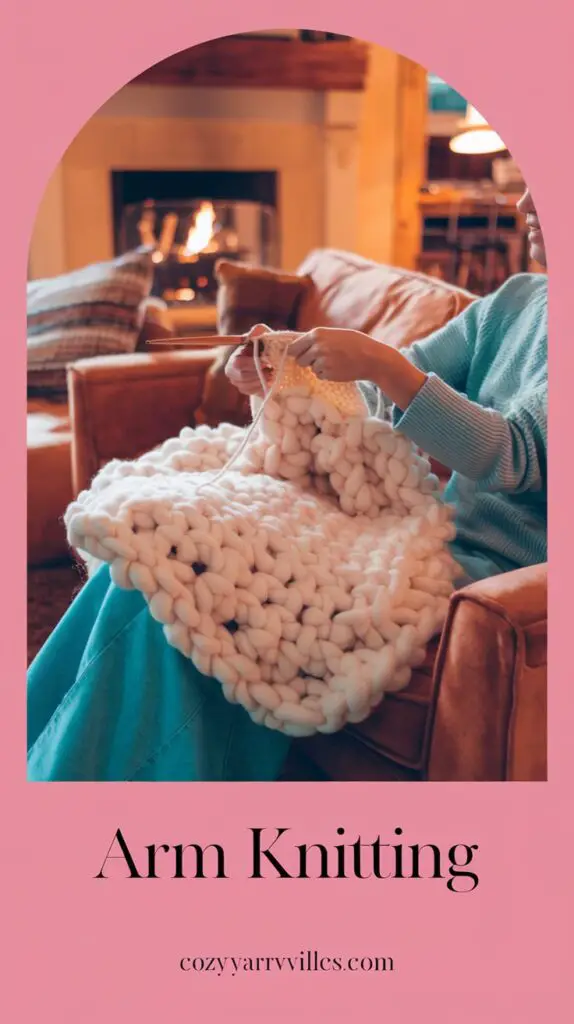
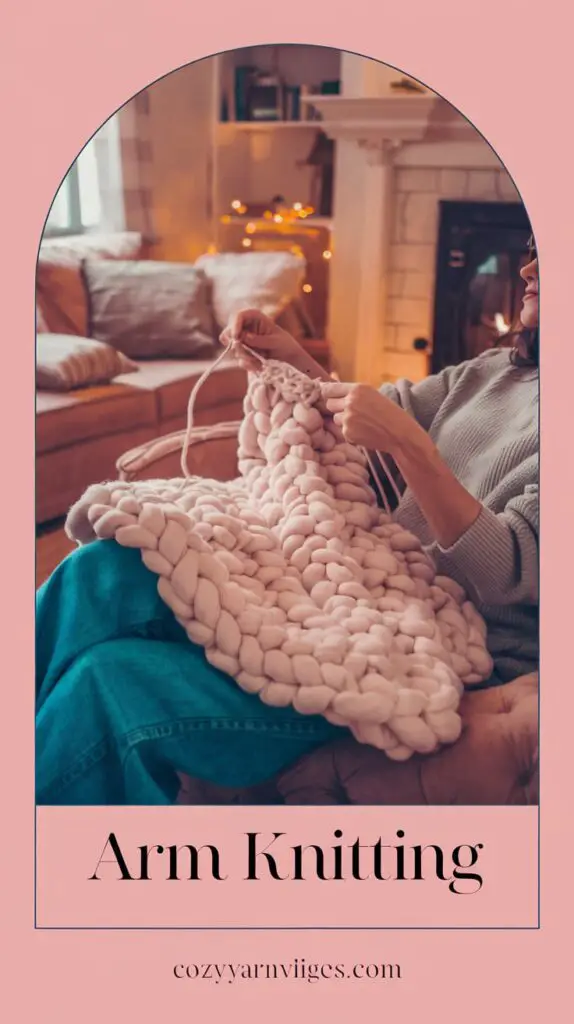
Arm Knitting: A Beginner’s Guide to a Fast and Fun Craft
Arm knitting is a modern, creative, and fast way to make beautiful knitted projects without the need for traditional knitting needles. Using your own arms as the “needles,” this technique allows you to create large, chunky pieces, making it perfect for blankets, scarves, and shawls. If you’re new to arm knitting, here’s everything you need to know to get started!
What Is Arm Knitting?
Arm knitting is exactly what it sounds like — instead of using knitting needles, you use your arms to create knitted stitches. The technique is a bit like traditional knitting, but instead of small loops on needles, you’re forming large loops around your arms. This makes the process much faster, and you can create cozy, oversized items in a fraction of the time it would take with conventional knitting.
Materials You’ll Need
- Yarn: Arm knitting is done with bulky or super-bulky yarn, as this makes the stitches large enough to work with your arms. Wool or acrylic yarn is commonly used, with thickness ranging from 6 to 8 weight (super bulky). You’ll need about 3-6 skeins depending on the project size.
- Scissors: For cutting the yarn once you’ve finished your project.
- A space to work: A comfortable place to sit and spread out, as arm knitting requires a bit of room to maneuver the yarn and your arms.
How to Arm Knit: A Step-by-Step Guide
Step 1: Setting Up Your Yarn
Start by making a slip knot and placing it over your right arm. This is where your arm knitting journey begins! Make sure you leave a few inches of yarn for the tail so you can weave it in at the end.
Step 2: Casting On
To cast on, you’ll need to create the first row of stitches on your arm. Here’s how:
- With the yarn over your right arm, use your left hand to grab the yarn and pull it through the loop on your right arm, creating a stitch.
- Repeat this for the desired number of stitches. Typically, for a blanket or scarf, you’ll need anywhere between 10-20 stitches depending on how thick you want your project to be.
Step 3: Knit the First Row
Now that you’ve cast on your stitches, it’s time to start knitting:
- With the yarn in your left hand, bring it over your left arm to form a new stitch.
- Pull the stitch from your right arm through the new stitch created on your left arm, then move it to your right arm.
- Continue this process for the entire row, alternating from arm to arm. It’s a simple back-and-forth motion!
Step 4: Continue Knitting the Rows
Once you’ve finished the first row, you’ll repeat the process for subsequent rows. Pull the yarn through the loops and move it across your arms, creating a thick, cushy texture.
Step 5: Bind Off
When your project is the desired length, it’s time to finish it:
- Cut the yarn, leaving about 12 inches of tail.
- To bind off, pull the yarn through the first stitch, and then the second stitch, creating a loop.
- Continue pulling the yarn through each loop on your arms, and pull the last loop through to secure it.
Step 6: Weave in the Ends
Use a yarn needle or your fingers to weave in the remaining yarn ends into the project, so everything stays in place.
Tips
- Tension is key: Make sure you’re not pulling the yarn too tightly or too loosely. If the tension is off, your project can look uneven. You want a nice balance for a smooth, even texture.
- Practice with a small project first: If you’re new to arm knitting, start with something small, like a scarf or small cowl, to get used to the technique.
- Use chunky yarn: The whole point of arm knitting is the large, chunky look. Using thinner yarn will defeat the purpose and take longer to finish.
- Stay comfortable: Arm knitting can be hard on your arms if you’re not used to it. Make sure to take breaks if needed.
Project Ideas
- Blankets: Arm knitting is most popular for making cozy, oversized blankets. A chunky, textured blanket adds a stylish touch to any living room or bedroom.
- Scarves and Shawls: Arm-knitted scarves are a quick and satisfying project. Plus, they’re perfect for gifting during the colder months.
- Poufs and Pillows: If you love home decor, try arm knitting a cozy pouf or cushion cover. The texture will add a beautiful handmade touch to any space.
- Baskets or Storage: You can even make baskets or other storage items with arm knitting! These are great for holding blankets, throws, or other knick-knacks.
Why Try Arm Knitting?
- Speed: If you love knitting but don’t have a lot of time, arm knitting is the perfect solution. Projects that usually take weeks can be completed in a matter of hours.
- No Needles Needed: If you’re intimidated by traditional knitting needles, arm knitting is a great way to dive into the craft without any extra tools or learning curves.
- Creative and Customizable: With arm knitting, you can experiment with different yarns, textures, and colors to create something completely unique and custom.
Conclusion
Arm knitting is a fun, fast, and accessible craft that anyone can pick up. Whether you’re making a chunky blanket, cozy scarf, or stylish pouf, arm knitting is a great way to express your creativity while making something both functional and beautiful. So grab some bulky yarn, roll up your sleeves, and start knitting with your arms today!
