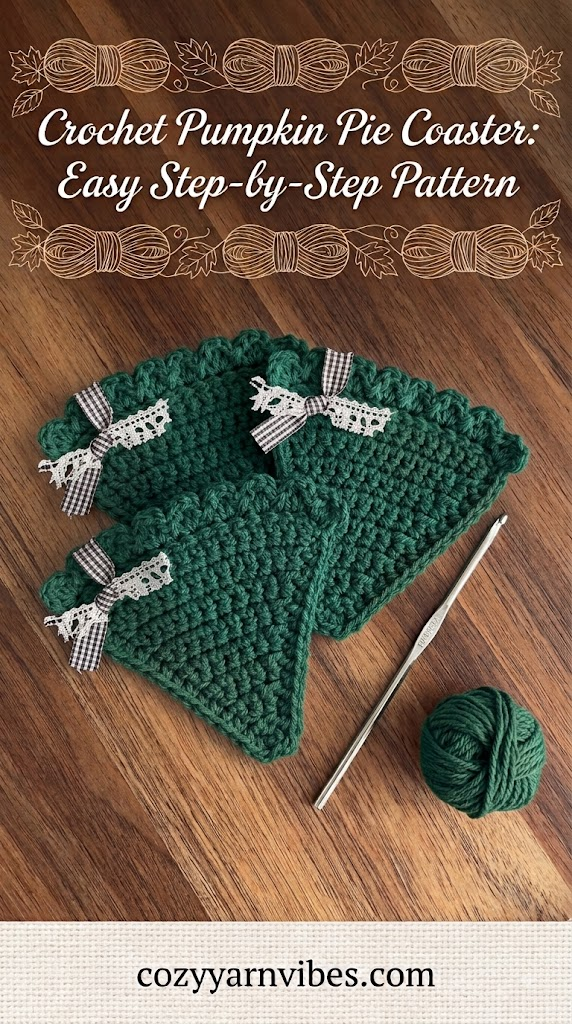
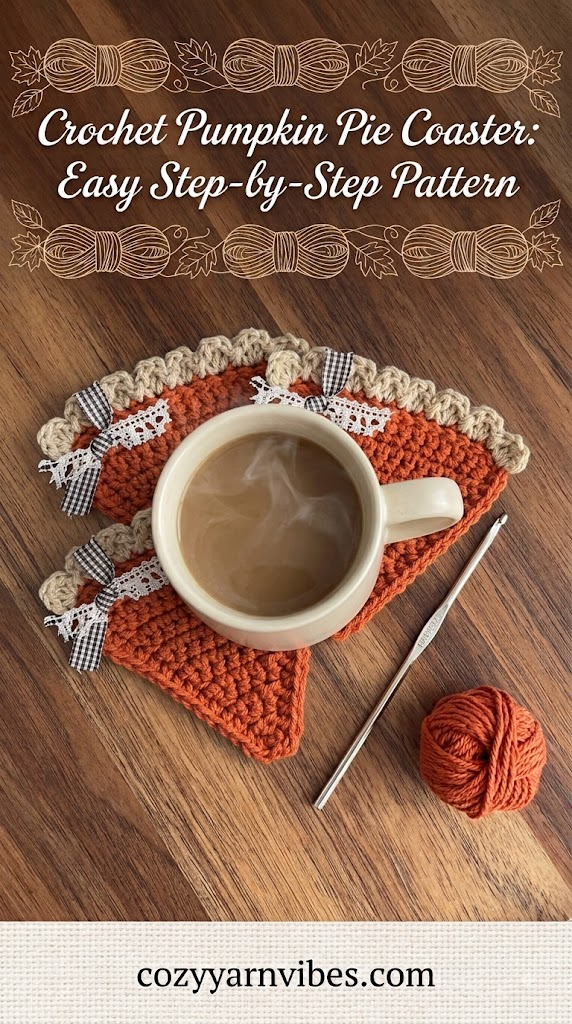
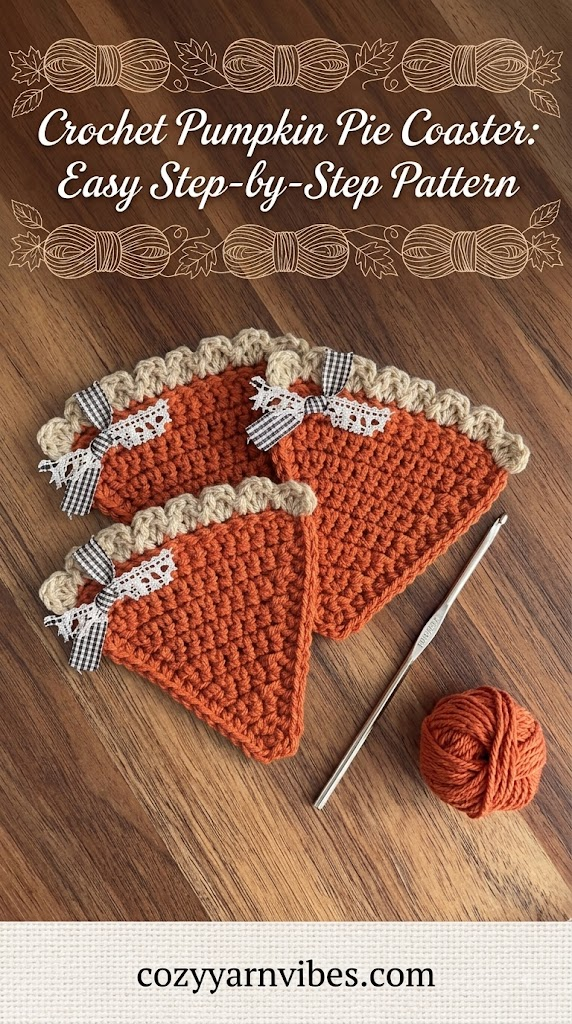
Looking for a cute and simple fall crochet project? This Crochet Pumpkin Pie Coaster is a fun way to bring a little autumn charm to your table. It looks like a tiny slice of pumpkin pie, complete with a golden crust and optional whipped cream.
This Crochet Pumpkin Pie Coaster is beginner-friendly and works up quickly. You can make one for your coffee cup, create a matching set for your dining table, or make several as handmade gifts for friends and family.
Easy Crochet Pumpkin Pie Coaster Tutorial
This Crochet Pumpkin Pie Coaster is made in simple rounds, starting from the center and working outward. The orange center creates the pumpkin pie filling, while a tan round around the outside gives it a sweet pie-crust look.
The coaster is worked mainly with single crochet stitches. Small groups of half double crochet stitches are added around the outside to create the textured crust edge.
You can also add a small white whipped topping in the center. This part is optional, but it gives the finished coaster an extra cute pumpkin-pie look.
Why You’ll Love This Pattern
Simple and beginner-friendly
Quick crochet project
Uses basic crochet stitches
Great for fall and Thanksgiving décor
Uses cotton yarn
Perfect for using small amounts of leftover yarn
Easy to make as a matching set
Optional whipped cream makes it extra cute
Skill Level
Beginner
If you know how to make chain stitches, single crochet, half double crochet, and slip stitches, you can make this project. The rounds are simple and repetitive, making this a nice project for beginners who want to practice working in the round.
Finished Size
Approximately:
Diameter: 5.5 inches
The finished size can change slightly depending on your yarn, hook size, and crochet tension. Using a smaller hook and thinner yarn will make a smaller coaster, while thicker yarn and a larger hook can make a bigger one.
Materials Needed
Yarn
Medium-weight #4 cotton yarn
You will need orange yarn for the pumpkin pie filling, tan yarn for the crust, and white yarn if you want to add the whipped topping.
Color
Orange for the pie filling
Tan or beige for the crust
White for the optional whipped cream
You can also change the colors to create different types of pie.
Additional Supplies
4 mm (G) crochet hook
Yarn needle
Scissors
Stitch marker
Stitches & Abbreviations (US Terms)
ch = chain
st = stitch
sl st = slip stitch
sc = single crochet
inc = increase
hdc = half double crochet
How to Make These Stitches
Chain (ch)
Make a slip knot and place it on your hook. Yarn over and pull the yarn through the loop on your hook. Continue until you have the number of chains needed.
Single Crochet (sc)
Insert your hook into the stitch. Yarn over and pull up a loop. You will have two loops on your hook. Yarn over again and pull through both loops.
Half Double Crochet (hdc)
Yarn over and insert your hook into the stitch. Pull up a loop so you have three loops on your hook. Yarn over and pull through all three loops.
Slip Stitch (sl st)
Insert your hook into the stitch, yarn over, and pull the yarn through both the stitch and the loop on your hook. This makes a small, flat stitch.
Pattern Notes
This project is worked in continuous rounds unless the pattern tells you to join. A stitch marker can help you keep track of the first stitch in each round.
Keep your tension even as you work. If your stitches are too tight, the coaster may curl. If this happens, gently flatten the piece with your fingers when you finish.
The whipped topping is optional. If you plan to place a mug directly on the coaster, keep the topping small and flat so it does not make the mug unstable.
How to Make a Crochet Pumpkin Pie Coaster: Step-by-Step
Row 1: Begin the Pie Slice
Chain 17.
Starting in the 2nd chain from the hook, work 1 sc in each of the next 15 chains. Turn.
(16 sts)
This row forms the foundation and the wide edge of the pumpkin pie slice.
Rows 2–17: Shape the Pie Slice
The pie slice is shaped by working one single crochet decrease at the beginning of every row. This gradually reduces the width and creates the pointed tip of the slice.
Row 2
Work a scdec, then 1 sc in each of the next 14 sts. Turn.
(15 sts)
Row 3
Work a scdec, then 1 sc in each of the next 13 sts. Turn.
(14 sts)
Row 4
Work a scdec, then 1 sc in each of the next 12 sts. Turn.
(13 sts)
Row 5
Work a scdec, then 1 sc in each of the next 11 sts. Turn.
(12 sts)
Row 6
Work a scdec, then 1 sc in each of the next 10 sts. Turn.
(11 sts)
Row 7
Work a scdec, then 1 sc in each of the next 9 sts. Turn.
(10 sts)
Row 8
Work a scdec, then 1 sc in each of the next 8 sts. Turn.
(9 sts)
Row 9
Work a scdec, then 1 sc in each of the next 7 sts. Turn.
(8 sts)
Row 10
Work a scdec, then 1 sc in each of the next 6 sts. Turn.
(7 sts)
Row 11
Work a scdec, then 1 sc in each of the next 5 sts. Turn.
(6 sts)
Row 12
Work a scdec, then 1 sc in each of the next 4 sts. Turn.
(5 sts)
Row 13
Work a scdec, then 1 sc in each of the next 3 sts. Turn.
(4 sts)
Row 14
Work a scdec, then 1 sc in each of the next 2 sts. Turn.
(3 sts)
Row 15
Work a scdec, then 1 sc in the next st. Turn.
(2 sts)
Row 16
Work a scdec, then 1 sc in the next st. Turn.
(2 sts)
Row 17: Finish the Point
Work a scdec, then ch 1.
(1 st)
The decrease rows gradually narrow the piece until you reach the pointed end of the pumpkin pie slice.
Border
Row 18: Work Around the Slice
Turn the piece to the left so you can work along the side of the slice.
Work 15 sc evenly down the left side of the slice. When you reach the corner, ch 1.
Next, work 16 sc across the top edge of the slice, working into the foundation chain.
At the next corner, ch 1.
Work 15 sc evenly down the opposite side of the slice. At the final corner, ch 1.
Join with a sl st to the first sc.
Cut the yarn, fasten off, and weave in the ends securely.
The border gives the pumpkin pie slice a clean, finished outline and helps define its triangular shape.
Bobble Stitch Edging
Row 19: Add the Pie Crust Detail
The bobble edging is worked along the top edge of the slice to create the look of a textured pie crust.
Make a slip knot and place it on your hook. Slip stitch the yarn into the ch-1 space along the top of the slice.
Ch 3. In the same ch-1 space, work 1 bobble stitch, then ch 1.
Slip stitch into the next st.
Repeat the following sequence across the top edge:
(sl st, ch 3, bobble stitch, ch 1) in the next st, then sl st into the following st.
Repeat this sequence 7 more times.
You should have 8 bobble stitches along the top edge.
Cut the yarn, fasten off, and weave in the ends.
(8 bobble sts)
Finishing the Crochet Pumpkin Pie Coaster
Turn the coaster to the back and gently push each bobble stitch toward the front with your fingers. This helps the bobbles become fuller and gives them a more rounded shape.
Check the edges and gently straighten the slice so it lies flat. Weave in any remaining yarn ends securely and trim the excess yarn.
Your Crochet Pumpkin Pie Coaster is now complete and ready to add a cute handmade touch to your fall or Thanksgiving table décor.
Important Pattern Notes
Use a stitch marker when working the continuous rounds. This makes it much easier to see where each round begins.
The increase rounds gradually make the orange circle larger. Keep your tension even so the circle stays flat.
Cotton yarn is a good choice for coasters because it is practical for everyday use and holds its shape well.
The whipped topping is optional. If your mug does not sit securely with the topping attached, you can leave it off.
Other Variations to Try
Make several pumpkin pie coasters for a complete fall table set.
Use darker orange yarn for a richer pumpkin filling.
Try cream or ivory yarn instead of white for a softer whipped topping.
Make a chocolate-colored center for a chocolate pie.
Use red yarn to create a cherry pie version.
Change the crust color to light brown, beige, or golden tan.
Customization Ideas
Classic Pumpkin Pie
Use orange for the filling, tan for the crust, and white for the whipped topping. This gives you the traditional pumpkin pie look.
Chocolate Pie
Replace the orange yarn with brown yarn. Keep the tan crust and add white whipped cream for a chocolate pie design.
Apple Pie
Use a warm red or golden color for the filling and a light brown yarn for the crust. You can also add a small white or cream topping.
Mini Coasters
Use thinner yarn and a smaller hook to make smaller coasters. These can be used under small cups, candles, or decorative items.
Large Coasters
Use thicker yarn and a larger hook to make a bigger coaster. Just remember that changing the yarn and hook size will change the finished dimensions.
Where to Use Your Crochet Pumpkin Pie Coaster
There are many ways to use your finished coaster during the fall season. Place it under your morning coffee, tea, hot chocolate, or a cold drink.
Make several and use them as a matching set on your dining table or coffee table. They also make cute additions to a Thanksgiving table setting.
The coasters can also be given as handmade gifts. Make a small set, tie them together with ribbon, and give them as a simple fall housewarming or holiday gift.
You can even use the finished pieces as part of your seasonal kitchen décor when they are not being used under drinks.
Care Instructions
If your coaster becomes dirty, gently hand wash it with mild soap and cool or lukewarm water.
Do not twist or stretch the coaster while it is wet. Instead, press it gently between a clean towel to remove extra water.
Lay it flat and allow it to dry completely. Reshape the coaster with your fingers while it is drying if needed.
Avoid high heat because it can affect the shape of some yarn fibers.
Frequently Asked Questions
Is this pattern suitable for beginners?
Yes. This is a beginner-friendly project that uses basic crochet stitches and simple increases. The repeated rounds also make it easy to practice working in the round.
How much yarn do I need?
You only need a small amount of each color, making this a useful project for leftover cotton yarn.
Can I make the coaster smaller?
Yes. You can use thinner yarn and a smaller crochet hook to create a smaller coaster. You can also stop the pie-filling rounds earlier, but this will change the size and the amount of crust needed.
Can I make a larger coaster?
Yes. Use thicker yarn and a larger hook, or continue increasing the center for additional rounds. Keep the circle flat as you work.
Do I have to add the whipped topping?
No. The whipped topping is completely optional. The coaster looks cute with just the pumpkin filling and pie crust.
What yarn is best for coasters?
Cotton yarn is a good choice because it is durable and suitable for kitchen projects. Medium-weight cotton yarn also gives the coaster a firm shape.
Can I make other pie flavors?
Yes. This design can be customized with different colors. Try brown for chocolate pie, red for cherry pie, or another color combination to create your own pie-inspired coaster.
Conclusion
This Crochet Pumpkin Pie Coaster is a quick and fun project for the fall season. With a simple round center, textured crust, and optional whipped topping, it creates a cute little piece of pumpkin-pie-inspired décor.
Whether you make one for your coffee cup or create a whole set for Thanksgiving, this project is a simple way to add handmade charm to your home. Try different colors and toppings to create your own collection of cozy seasonal coasters.
For another fun fall crochet project, you can also try a crochet maple leaf pattern and use the leaves alongside your pumpkin pie coasters for a complete autumn-themed table setting.
Make another autumn inspired crochet project by reading this post on How to Crochet a Maple Leaf.