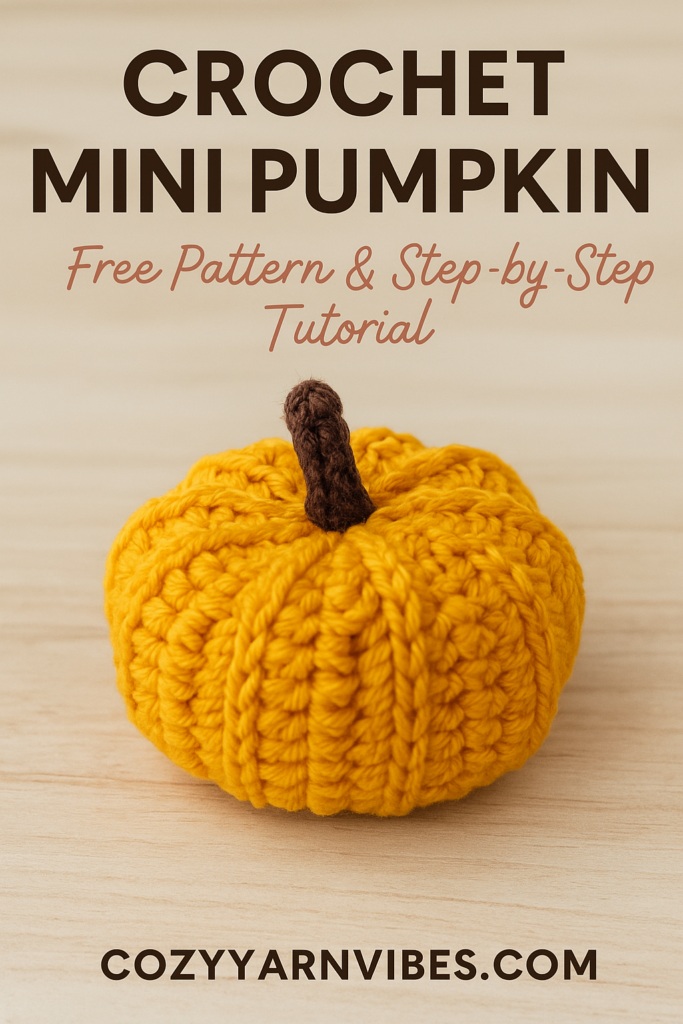
Crochet Mini Pumpkin Pattern (Step-by-Step)
These cute mini crochet pumpkins are the perfect seasonal decoration for fall, Thanksgiving, or Halloween. They’re beginner-friendly and quick to make, ideal for coasters, table décor, or even garlands. Let’s dive into the detailed pattern!
🧶 Materials Needed
- Orange yarn (for the pumpkin body)
- Brown yarn (for the stalk)
- 3.5–4 mm crochet hook
- Yarn needle
- Fiberfill stuffing
Aeelike Crochet Kit for Beginners Young and Old, First Crochet Kit for Adults Include 23pcs Crochet Hooks, 655 Yards Yarn Set for Crocheting, Instruction, Bag, Crochet Accessories and Supplies, Navy
$19.99 (as of July 18, 2026 18:04 GMT +00:00 – More infoProduct prices and availability are accurate as of the date/time indicated and are subject to change. Any price and availability information displayed on [relevant Amazon Site(s), as applicable] at the time of purchase will apply to the purchase of this product.)
TGIQROVE Crochet Kit for Beginners, 4Pcs Animal Crochet Kit for Adults Include Videos Tutorials, Yarn, Eyes, Stuffing, Crochet Hook, Instructions, Kids Boys Girls Birthday Gifts
(as of July 18, 2026 18:04 GMT +00:00 – More infoProduct prices and availability are accurate as of the date/time indicated and are subject to change. Any price and availability information displayed on [relevant Amazon Site(s), as applicable] at the time of purchase will apply to the purchase of this product.)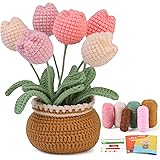
kgxulr Crochet Kit for Beginners, Tulip Crochet Starter Kit Beginner for Complete Beginners Adults, Crocheting Knitting Kit with Step-by-Step Video Tutorials (Tulip)
$9.99 (as of July 18, 2026 18:04 GMT +00:00 – More infoProduct prices and availability are accurate as of the date/time indicated and are subject to change. Any price and availability information displayed on [relevant Amazon Site(s), as applicable] at the time of purchase will apply to the purchase of this product.)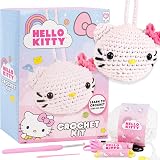
Hello Kitty® and Friends Crochet Kit – Hello Kitty® Bag Charm, Sanrio Crochet Kit for Beginners with Yarn, Starter Hooks, Step-by-Step Tutorials, DIY Craft, Great Teen Gifts
$10.99 (as of July 18, 2026 18:04 GMT +00:00 – More infoProduct prices and availability are accurate as of the date/time indicated and are subject to change. Any price and availability information displayed on [relevant Amazon Site(s), as applicable] at the time of purchase will apply to the purchase of this product.)✨ Pumpkin Body Pattern
- Foundation:
Ch 13 (or adjust length depending on the size of pumpkin you want). - Row 1:
Work 1 sc in the 2nd ch from hook. Continue working sc across. Ch 1, turn. - Row 2 onward:
Work sc in back loops only (BLO) across the row. This creates ribbing.
Repeat until you have a rectangle long enough to wrap around and form a tube (about 20–22 rows for small pumpkins). - Form the Pumpkin Shape:
- Fold the rectangle in half lengthwise.
- Use the yarn needle to sew the two short sides together to create a tube.
- With yarn still attached, weave in and out along the bottom edge of the tube. Pull tightly to close.
- Stuff & Shape:
- Turn inside out so seam is hidden.
- Stuff firmly with fiberfill.
- Weave the yarn along the top edge and pull tight to close. Secure with stitches.
🍂 Adding the Stalk
- With brown yarn, ch 6.
- Hdc in 2nd ch from hook and across. (5 hdc total).
- Fasten off, leaving a tail.
- Sew the stalk securely on top of the pumpkin.

🎃 Extra Tip for Realistic Look
- After finishing, take a long piece of orange yarn.
- Insert through the center top, push through bottom, and pull tightly.
- Wrap yarn around the pumpkin a few times (like making “segments”) to give it a realistic pumpkin shape.
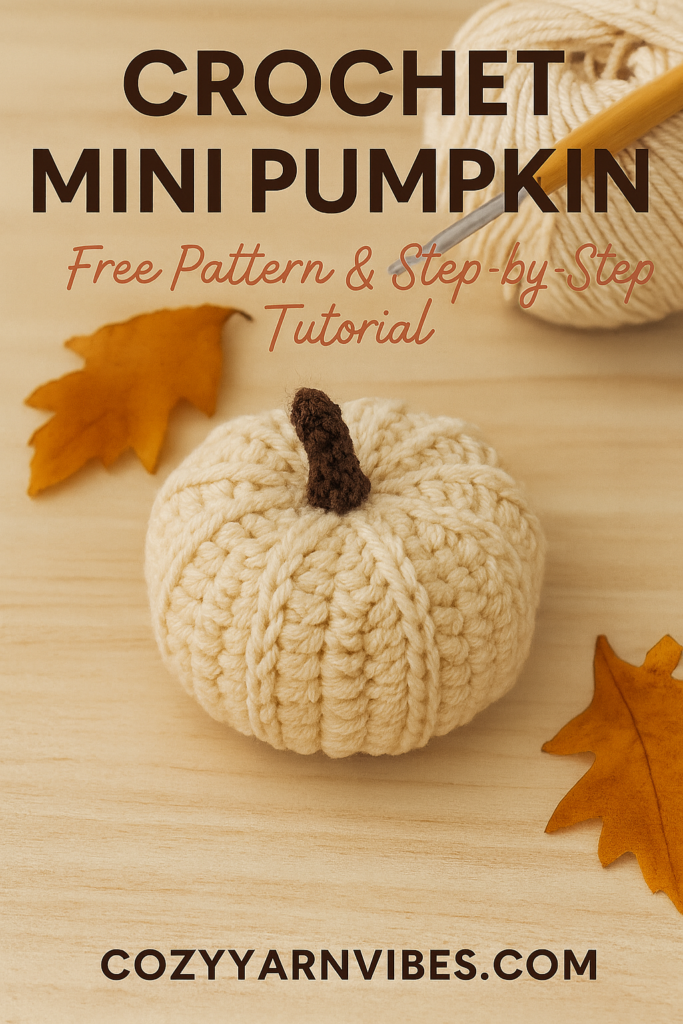
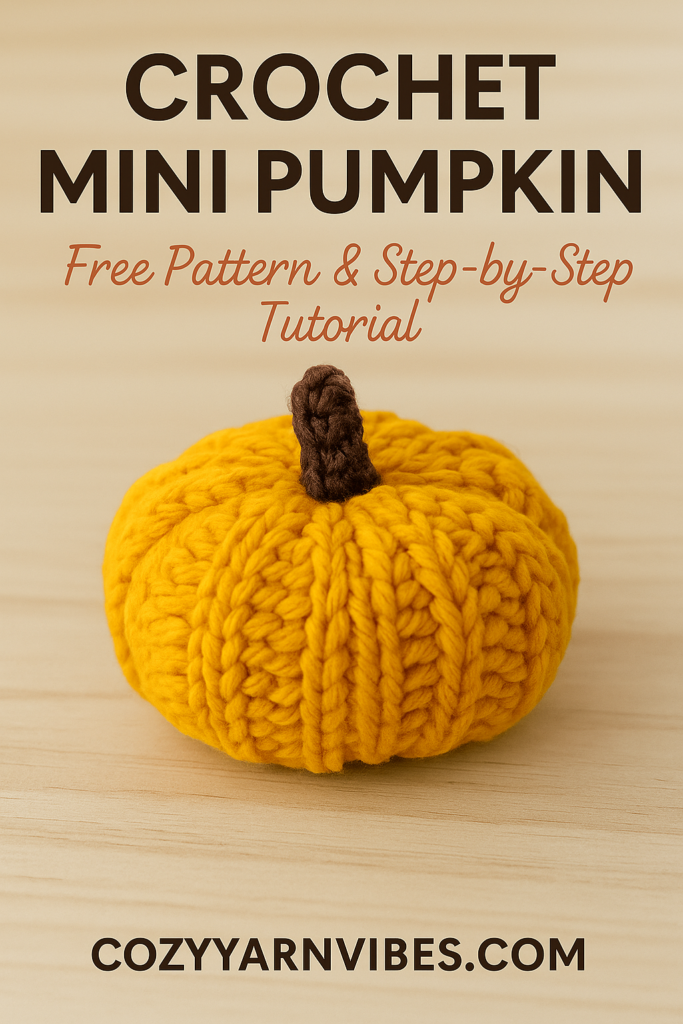
✅ Finished Size
- About 3–4 inches across (depending on yarn and hook size).
Color By Number For Adults: 75 Beautiful Pictures Designed For Fun, Adult Relaxation & Stress Relief Coloring For Hours On End (includes Flowers, Animals, Mandala, Nature, Landscapes & Much More)
$14.49 (as of July 19, 2026 18:16 GMT +00:00 – More infoProduct prices and availability are accurate as of the date/time indicated and are subject to change. Any price and availability information displayed on [relevant Amazon Site(s), as applicable] at the time of purchase will apply to the purchase of this product.)