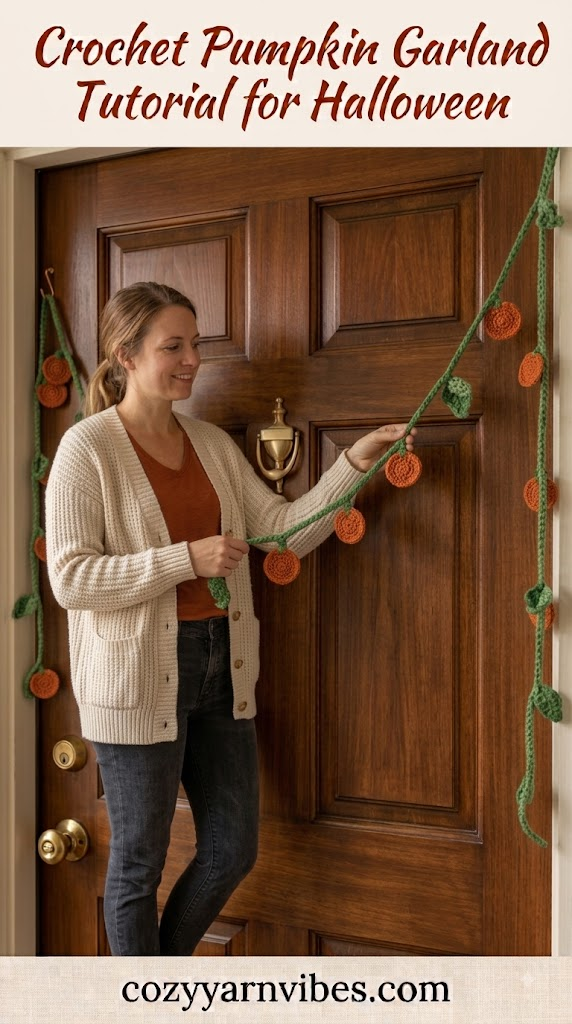
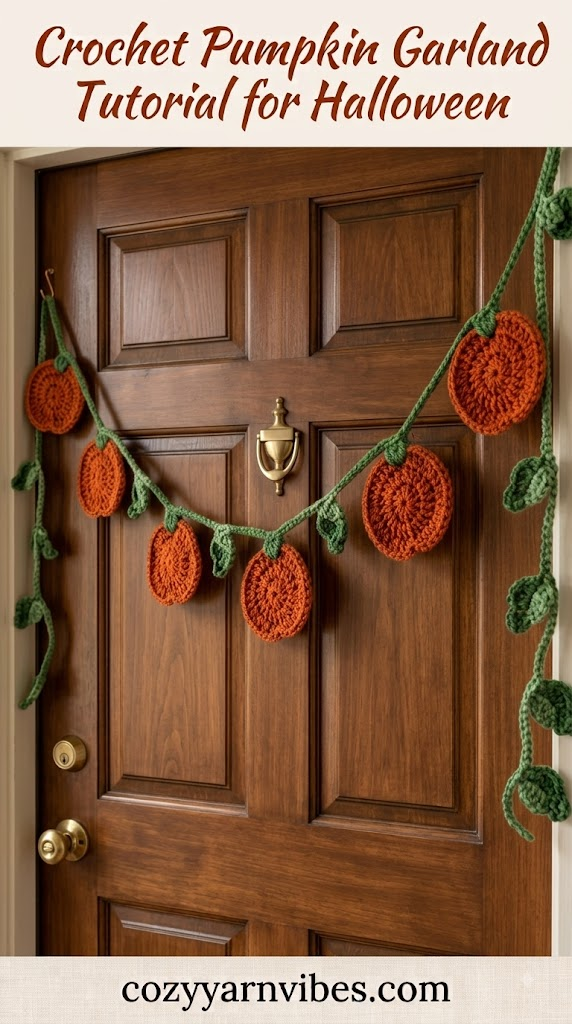
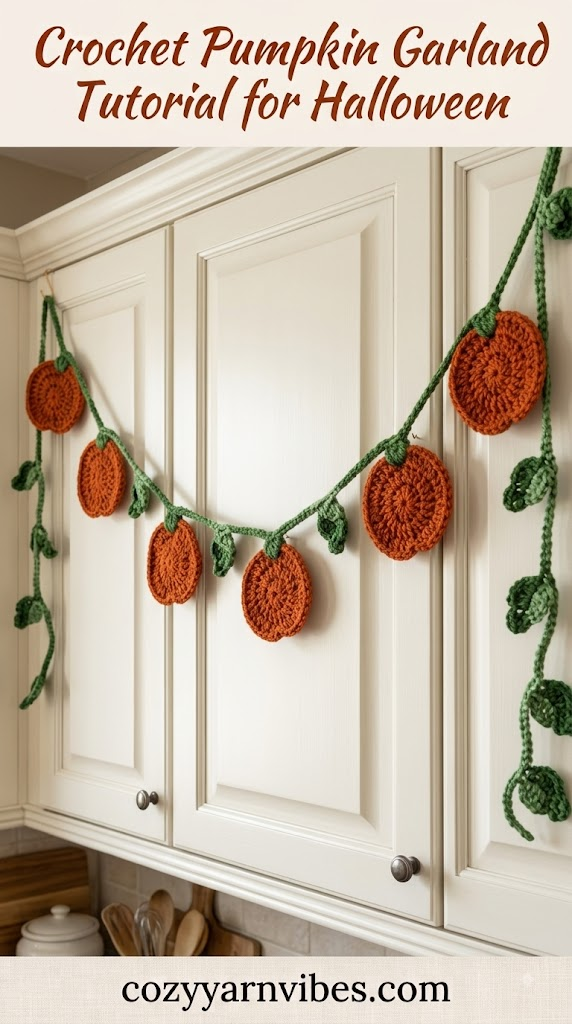
Looking for a fun Halloween crochet project? This Crochet Pumpkin Garland is an easy way to decorate your home for Halloween and fall. Make several small pumpkins in orange, add green stems, and string them together to create a cute garland for your mantel, wall, doorway, shelf, or party table.
Easy Crochet Pumpkin Garland Tutorial
This Crochet Pumpkin Garland is made by creating small pumpkin shapes and joining them with a simple chain. Each pumpkin has a rounded body, textured grooves, and a small green stem.
You can make as many pumpkins as you need for the length of your garland. The pattern is easy to repeat, so you can create a short decoration for a shelf or a longer garland for a wall or mantel.
Why You’ll Love This Pattern
Easy to customize
Great for beginners
Uses basic crochet stitches
Quick to make
Perfect for Halloween
Great for fall decorating
Uses small amounts of yarn
Easy to make in different colors
Perfect for using leftover yarn
Skill Level
Beginner to Easy Intermediate
If you know how to make chain, single crochet, double crochet, and slip stitches, you can make this project. The pumpkin pieces are simple, and you can repeat the same steps to make as many pumpkins as you want.
Finished Size
Each pumpkin will be approximately 4–5 inches wide, depending on your yarn, hook size, and tension.
The total length of the garland depends on how many pumpkins you make and how much space you leave between them.
Materials Needed
Yarn
Medium-weight #4 cotton yarn
Orange yarn for the pumpkins
Green yarn for the stems
Optional brown or black yarn for details
Color
Orange
Green
Black or brown for optional details
You can also use white, cream, mustard, rust, or burgundy for a fall-themed garland.
Additional Supplies
4 mm (G) crochet hook
Yarn needle
Scissors
Stitch marker
Stitches & Abbreviations (US Terms)
ch = chain
st = stitch
sl st = slip stitch
sc = single crochet
dc = double crochet
BLO = back loop only
rep = repeat
How to Make These Stitches
Chain (ch)
Yarn over and pull the yarn through the loop on your hook to make a chain.
Single Crochet (sc)
Insert your hook into the stitch, yarn over, and pull up a loop. Yarn over again and pull through both loops on your hook.
Double Crochet (dc)
Yarn over and insert your hook into the stitch. Pull up a loop. Yarn over and pull through two loops, then yarn over and pull through the remaining two loops.
Slip Stitch (sl st)
Insert your hook into the stitch, yarn over, and pull the yarn through both the stitch and the loop on your hook.
Pattern Notes
Each pumpkin is made separately.
Use orange yarn for the pumpkin body and green yarn for the stem.
Keep your tension even so the pumpkins keep their shape.
The number of pumpkins is completely up to you. For a short garland, make 3–4 pumpkins. For a longer garland, make 5–8 pumpkins.
You can make all the pumpkins the same size or use different sizes for a playful look.
How to Make a Crochet Pumpkin Garland: Step-by-Step
This crochet pumpkin garland is made with small pumpkin motifs joined by a simple green vine. Make as many pumpkins as you like and use orange yarn or your favorite pumpkin color.
The Pumpkins
Make as many pumpkins as you need for your garland.
Round 1
Begin with a magic ring.
Chain 1. Work the following stitches into the magic ring: single crochet, half double crochet, 3 double crochet stitches, and half double crochet. Repeat this sequence one more time.
Pull the magic ring closed and join with a slip stitch to the top of the first single crochet.
Round 2
Chain 1. Work the following sequence around: single crochet in the next stitch, half double crochet and double crochet in the next stitch, 2 double crochet stitches in each of the next 3 stitches, then double crochet and half double crochet in the next stitch.
Repeat the entire sequence one more time.
Join with a slip stitch to the top of the first single crochet.
Round 3
Chain 1. Work the following sequence around: single crochet, half double crochet and double crochet in the next stitch, 2 double crochet stitches in the next stitch, 1 double crochet in the next stitch, 2 double crochet stitches in the next stitch, 1 double crochet in each of the next 2 stitches, 2 double crochet stitches in the next stitch, 1 double crochet in the next stitch, 2 double crochet stitches in the next stitch, then double crochet and half double crochet in the next stitch.
Repeat the entire sequence one more time.
Join with a slip stitch to the top of the first single crochet.
Fasten off and weave in the yarn ends.
The Garland Vine
Use green yarn or any color you prefer for the vine.
Chain 21.
Work 2 single crochet stitches into the second chain from the hook. Then work 2 single crochet stitches into each of the next 9 chains.
Chain 10.
Pick up one finished pumpkin and find the single crochet stitch in the center. Work 3 double crochet stitches into this single crochet to attach the pumpkin to the vine.
Repeat the same steps for each pumpkin: chain 21, work 2 single crochet stitches into the second chain from the hook, work 2 single crochet stitches into each of the next 9 chains, chain 10, then work 3 double crochet stitches into the center single crochet of the next pumpkin.
Finish the Garland
Once all the pumpkins have been attached, chain 21.
Work 1 single crochet into the second chain from the hook and 1 single crochet into each of the next 9 chains.
Chain 10 and fasten off.
Weave in all loose yarn ends with a yarn needle.
Your pumpkin garland is now ready to hang. Make as many pumpkins as you like to create the length you want.
Important Pattern Notes
Keep the pumpkin sizes similar if you want a neat and even garland.
Use a stitch marker when working in rounds if you have trouble finding the beginning of each round.
Do not pull the stitches too tightly because this can make the pumpkin curl.
Cotton yarn works well for this project because it gives the pumpkins a firm shape.
You can make the garland as long or short as you like.
Other Variations to Try
Make tiny pumpkins and use them for a shorter garland.
Add small crocheted leaves beside the stems.
Use black yarn to embroider simple Halloween faces.
Add white yarn for small ghost details between the pumpkins.
Use different shades of orange for a more colorful garland.
Add a few black crocheted circles between the pumpkins for extra Halloween detail.
Customization Ideas
Classic Halloween Pumpkins
Use bright orange pumpkins with green stems and add small black faces for a traditional Halloween look.
Black and Orange Pumpkins
Alternate orange and black pumpkins for a simple Halloween color scheme.
Neutral Fall Pumpkins
Try cream, beige, rust, mustard, and brown for a softer fall decoration.
Mini Pumpkins
Use thinner yarn and a smaller hook to create tiny pumpkins. These are perfect for a delicate garland.
Colorful Pumpkins
Try purple, pink, white, green, and orange pumpkins for a fun and playful Halloween decoration.
Where to Use Your Crochet Pumpkin Garland
Hang your Crochet Pumpkin Garland across a fireplace mantel, shelf, doorway, window, or wall.
You can also use it above a Halloween party table, around a mirror, or along a staircase railing.
For a Halloween party, place the garland behind a dessert table or photo area.
You can also hang it in a child’s room or use it as part of your seasonal entryway decoration.
Care Instructions
Gently hand wash the pumpkins with cool or lukewarm water and mild soap.
Do not twist or stretch the pieces while they are wet.
Press them gently in a clean towel to remove extra water.
Lay the garland flat and allow it to dry completely.
Store it in a dry place when Halloween and fall decorating season is over.
Frequently Asked Questions
How many pumpkins do I need for a garland?
For a short Crochet Pumpkin Garland, 3–4 pumpkins are enough. For a longer decoration, make 5–8 pumpkins or more.
Can beginners make this garland?
Yes. The project uses basic crochet stitches and simple shaping, making it suitable for beginners who are comfortable working in the round.
Can I make smaller pumpkins?
Yes. Use thinner yarn and a smaller hook to create smaller pumpkins.
Can I make the pumpkins different colors?
Yes. You can mix orange, black, cream, brown, mustard, rust, and other fall colors.
Can I add Halloween faces?
Yes. Use black yarn and a tapestry needle to embroider simple eyes, a mouth, or a jack-o’-lantern face on each pumpkin.
How do I hang the garland?
Leave extra chain at both ends of the garland. Use these ends to tie or hang the finished decoration.
Conclusion
This Crochet Pumpkin Garland is a simple and fun project for Halloween and fall. The small pumpkins are easy to customize, and you can make the garland as long as you need.
Use classic orange pumpkins for a traditional Halloween look, or mix different colors for a modern fall decoration. Make a few pumpkins for a small shelf or create a longer garland to decorate your entire mantel or wall.
With basic stitches and a little yarn, you can create a handmade Halloween decoration that you can use year after year.
For more interesting crochet projects, read our crochet stitches guide.