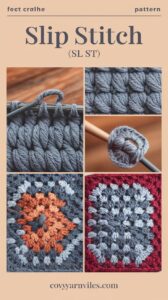
The slip stitch (sl st) is the simplest and shortest crochet stitch, often used for joining, finishing, and creating delicate details. While it’s not typically used to build fabric on its own, the slip stitch is indispensable for clean edges, seamless joins, and decorative elements.
In this guide, we’ll break down how to master the slip stitch, explore its uses, and share tips for incorporating it into your projects.
What is a Slip Stitch?
The slip stitch (sl st) is the smallest crochet stitch, designed to pull yarn through without adding height. It’s often used for:
- Joining Rounds: Seamlessly connect the last stitch of a round to the first.
- Finishing Edges: Create polished edges on blankets, garments, and more.
- Moving Across Stitches: Skip over sections without adding bulk.
- Decorative Stitches: Add surface details or embroidery-like effects.
How to Slip Stitch, Step-by-Step
Here’s how to work the sl st stitch:
- Insert Your Hook: Place your hook into the stitch or space where you want to work the slip stitch.
- Yarn Over (yo): Wrap the yarn over your hook from back to front.
- Pull Through: Pull the yarn through both the stitch and the loop on your hook in one motion. The slip stitch is complete!
- Repeat: Continue working slip stitches into the desired stitches or spaces.
Pro Tip: Keep your tension relaxed to avoid overly tight stitches, especially if you’re using sl st for decorative purposes.
Working Slip Stitch in Rows
Slip stitches can be worked in rows to create a flat, tight fabric with minimal height. Here’s how:
- Foundation Row: Begin with a chain (ch) of your desired length.
- Work the First Row: Insert your hook into the second chain from the hook, yarn over, and pull through both loops on your hook.
- Repeat Across: Continue working one sl st into each chain across the row. Chain one and turn.
This method creates a sturdy, compact fabric that can be used for decorative trims or accessories like headbands and bracelets.
How to Slip Stitch in Rounds
Slip stitches are often used to join rounds or create seamless circular shapes. Here’s how:
- Start with a Foundation: Create a magic ring or chain and join with a slip stitch to form a circle.
- Work the Round: Complete the desired stitches for the round.
- Join with a Slip Stitch: Insert your hook into the first stitch of the round, yarn over, and pull through both loops on your hook.
Pro Tip: For a polished look, ensure your slip stitches are consistent in tension when joining rounds.
Common Uses of the Slip Stitch
The slip stitch has a variety of practical and decorative applications, including:
- Joining Rounds: Seamlessly connect stitches in circular projects.
- Edging and Borders: Create a clean, finished edge on blankets, garments, and accessories.
- Surface Crochet: Add embroidery-like designs to your projects.
- Creating Chains in Patterns: Move across stitches without adding bulk or height.
Fun Projects That Use Slip Stitch
While often overlooked, the slip stitch can shine in these creative projects:
- Decorative Borders: Add contrast and texture to blankets or shawls.
- Surface Designs: Create lettering, shapes, or lines on crochet fabric.
- Coasters and Headbands: Use slip stitches to make tight, compact items.
- Seamless Joins: Perfect for granny squares or motif-based projects.
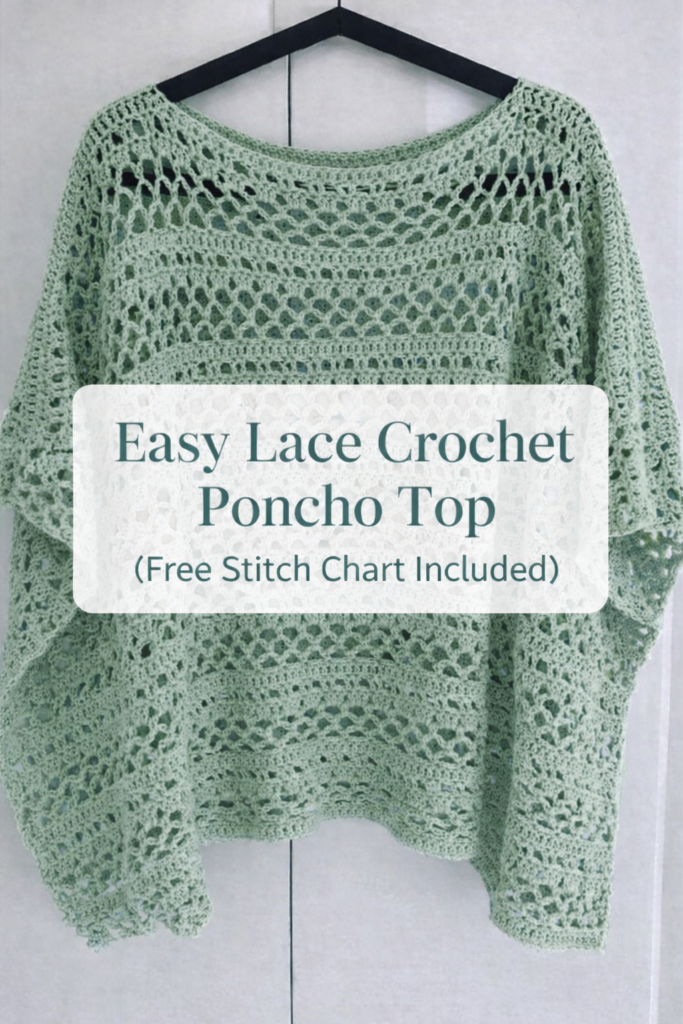
Easy Lace Crochet Poncho Top
Easy Lace Crochet Poncho Top (Free Stitch Pattern + Chart) Introduction If you…
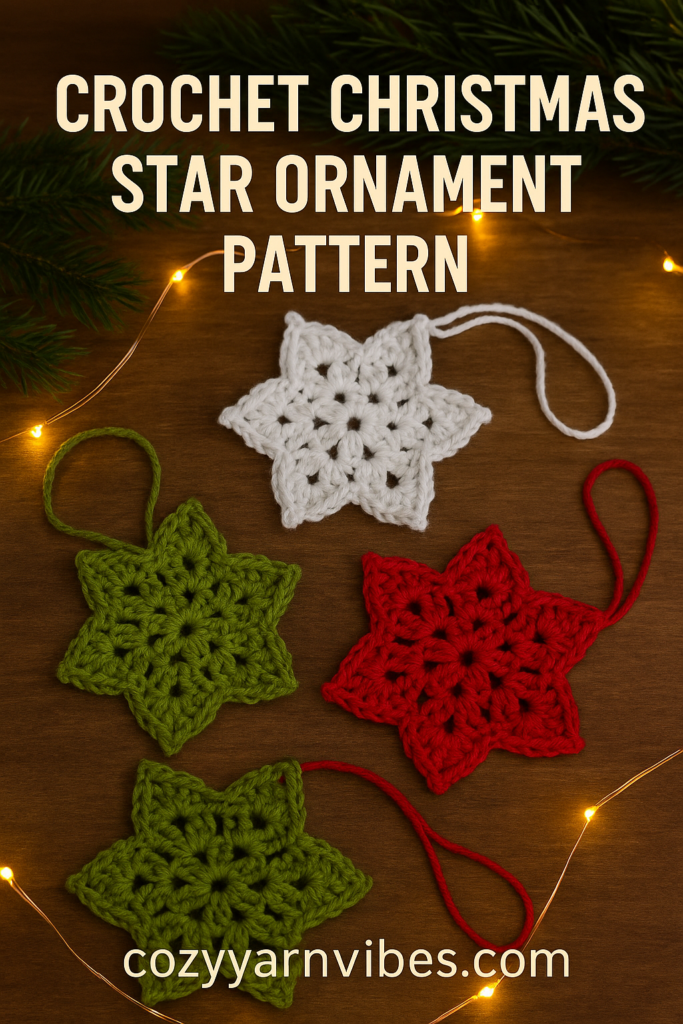
Crochet Christmas Star Ornament Pattern
🌟 Crochet Christmas Star Ornament Pattern (Free & Easy) 🎄 Introduction Add a…
Crochet Christmas Snowflake Ornament
Crochet Christmas Snowflake Ornament Pattern Bring a cozy handmade charm to your Christmas…
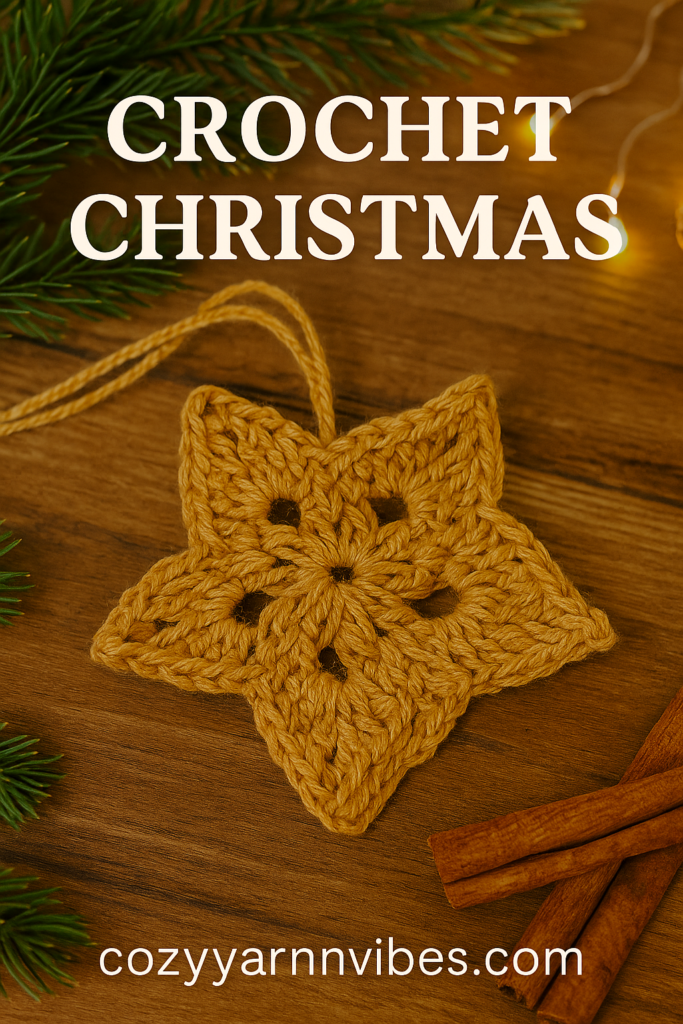
Crochet Christmas Star Ornament
⭐ Crochet Christmas Star Ornament Pattern Brighten your holiday décor with this simple…
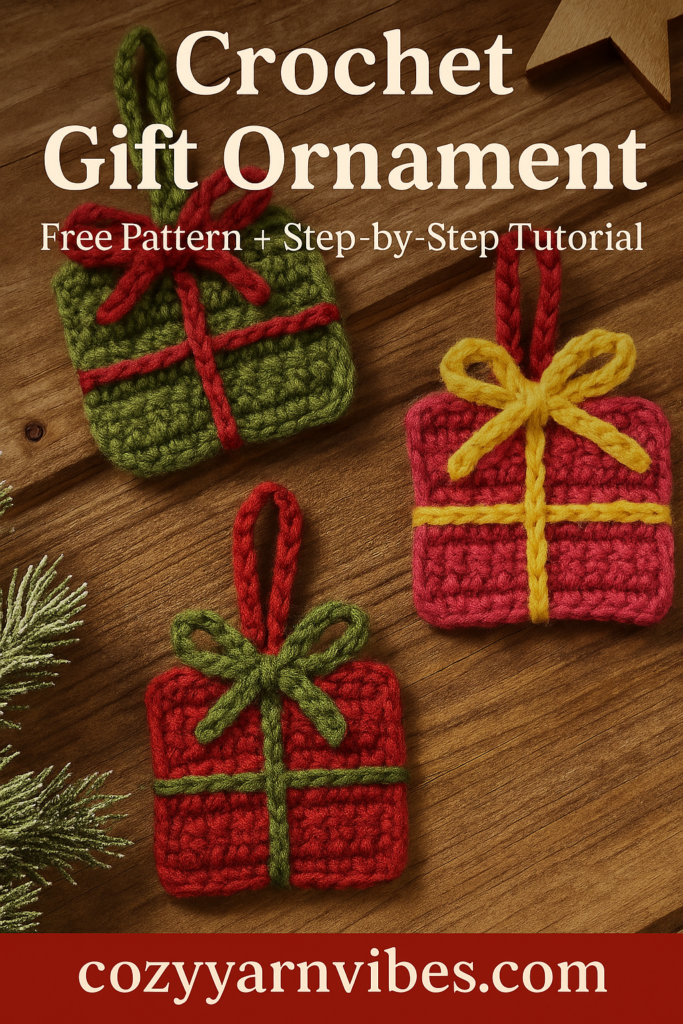
Crochet Gift Ornament Pattern
🎁 Crochet Gift Ornament Pattern (Step-by-Step Tutorial) Brighten up your holiday décor with…
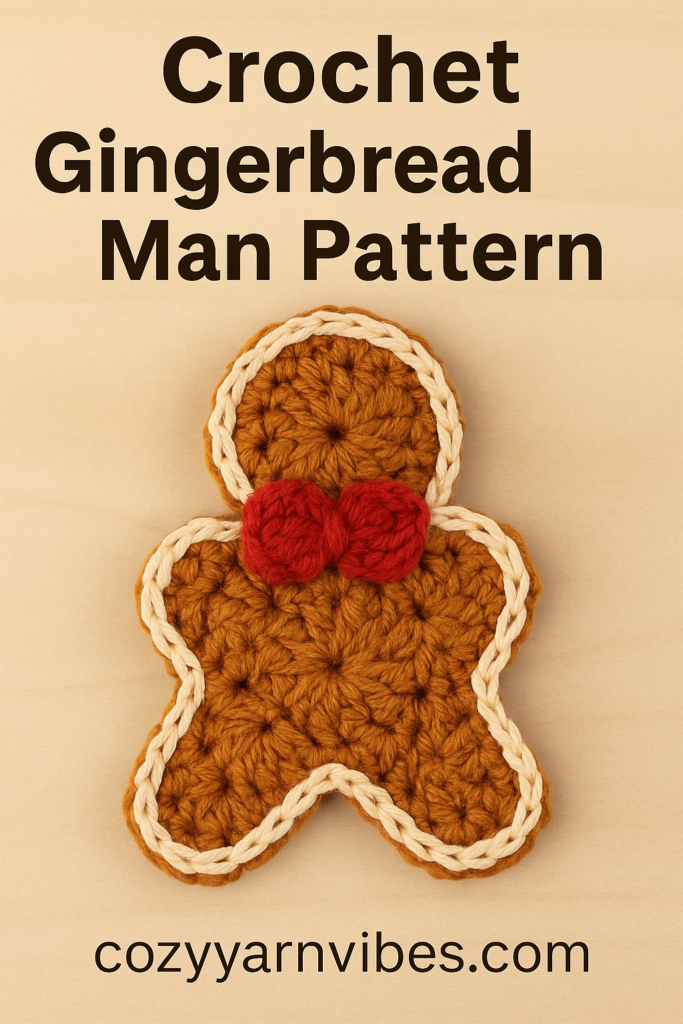
Crochet Gingerbread Man Pattern
🍪 Crochet Gingerbread Man Pattern (Free + Easy Tutorial) If you love festive…
Variations on the Slip Stitch
Once you’ve mastered the basic slip stitch, try these variations:
- Back Loop Only (BLO): Work into the back loop for a subtle ridge effect.
- Slip Stitch Ribbing: Work rows of slip stitch into the back loop only for stretchy, knit-like ribbing.
- Surface Slip Stitch: Crochet directly onto the surface of existing fabric to create decorative patterns.
These techniques add texture and versatility to your projects.
More Crochet Stitch Tutorials
Expand your crochet skills with these tutorials:
