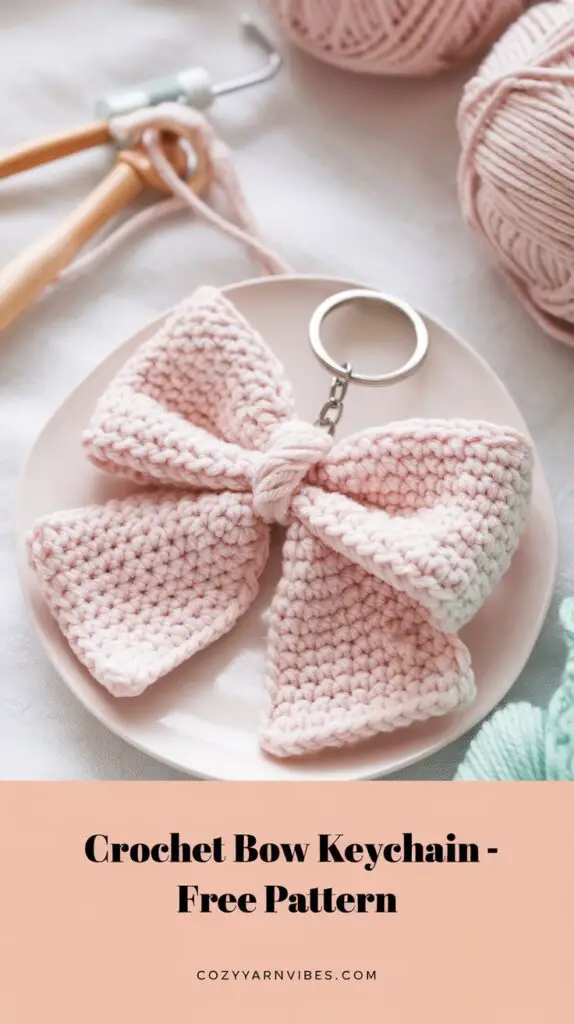
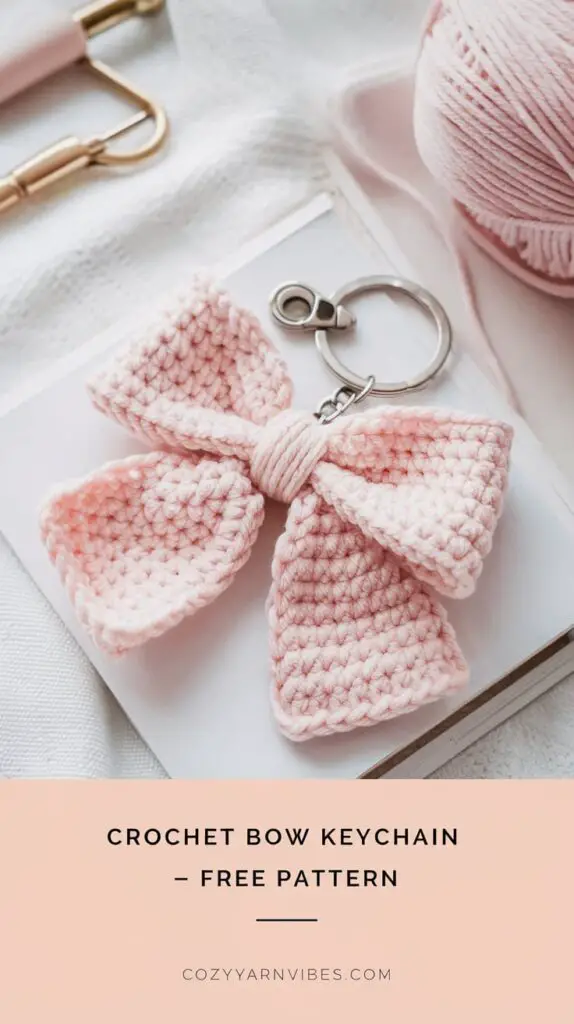
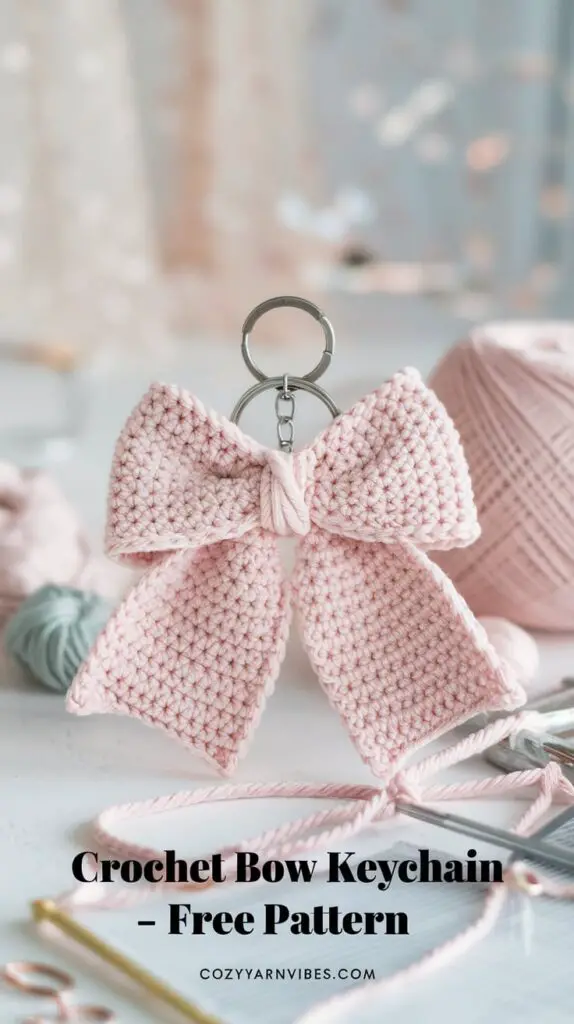
Add a touch of handmade charm to your keys, bags, or gifts with this adorable Crochet Bow Keychain! Perfect for beginners, this quick and easy project is a great way to use up leftover yarn and create something both functional and cute. Whether you’re making it for yourself or as a gift, this bow keychain is sure to bring a smile to anyone’s face.
Let’s get started and crochet a bow keychain together!
✨ Why You’ll Love This Pattern
- Quick & Easy – Works up in under 30 minutes, perfect for last-minute gifts!
- Beginner-Friendly – Uses basic stitches and simple techniques.
- Customizable – Make it in any color to match your style or mood.
- Versatile – Use it as a keychain, bag charm, or even a hair accessory.
🧶 Materials Needed
Before you begin, gather your supplies:
- Yarn – Worsted weight yarn in your choice of color (I recommend cotton yarn for durability).
- Hook – 4mm (G/6) crochet hook.
- Keychain Ring – A small metal or plastic keychain ring.
- Tapestry Needle – For weaving in ends.
- Scissors – To cut yarn.
- Stitch Marker (optional) – To mark the beginning of rounds.
📏 Finished Size
The bow measures approximately 2.5 inches (6.5 cm) wide and 1.5 inches (4 cm) tall, depending on your tension and yarn weight.
🧵 Stitches & Abbreviations (US Terms)
- Ch – Chain
- Sl St – Slip Stitch
- Sc – Single Crochet
- Hdc – Half Double Crochet
- Dc – Double Crochet
- MR – Magic Ring
📝 Pattern Notes
- The pattern is worked in rows for the bow and rounds for the center tie.
- Use a stitch marker to mark the beginning of rounds if needed.
- Feel free to adjust the size by using a thicker yarn or larger hook for a bigger bow, or a thinner yarn and smaller hook for a daintier look.

🎀 Crochet Bow Keychain Pattern
Step 1: Make the Bow
Row 1: Start with a foundation chain of 20.
Row 2: Sc in the second ch from the hook and in each ch across. (19 sc)
Row 3: Ch 1, turn. Sc in each st across. (19 sc)
Rows 4–10: Repeat Row 3 until you have 10 rows total.
Finishing the Bow:
- Fold the rectangle in half lengthwise, bringing the short ends together.
- Slip stitch along the edges to join, creating a loop.
- Flatten the loop to form the bow shape.
Step 2: Make the Center Tie
Round 1: Start with a Magic Ring, ch 1, and work 6 sc into the ring. Pull tight to close. Sl st to the first sc to join. (6 sc)
Round 2: Ch 1, 2 sc in each st around. Sl st to join. (12 sc)
Round 3: Ch 1, sc in each st around. Sl st to join. (12 sc)
Finishing the Tie:
- Cut the yarn, leaving a long tail for sewing.
- Wrap the center tie around the middle of the bow and sew it securely in place at the back.
Step 3: Attach the Keychain
- Thread the keychain ring through the back of the bow (behind the center tie).
- Secure it by sewing a few stitches around the ring to hold it in place.
🌟 How to Crochet These Stitches
If you’re new to crochet or need a refresher, here’s how to make each stitch used in this pattern:
Magic Ring (MR)
- Wrap the yarn around your fingers to form a loop.
- Insert the hook into the loop, yarn over, and pull through.
- Ch 1 to secure the loop, then work the stitches as instructed into the ring.
- Pull the yarn tail to tighten and close the center hole.
Chain (Ch)
- Make a slip knot and place it on your hook.
- Yarn over and pull through the loop on the hook.
- Repeat for the desired number of chains.
Single Crochet (Sc)
- Insert your hook into the stitch.
- Yarn over and pull through (two loops on the hook).
- Yarn over again and pull through both loops.
Slip Stitch (Sl St)
- Insert your hook into the stitch.
- Yarn over and pull through both loops on the hook.
🌟 Finishing Touches
- Weave in all ends neatly using a tapestry needle.
- Customize it! Add beads, embroidery, or a contrasting color for the center tie.
- Make a set! Create multiple bows in different colors for a fun collection.
🎉 Ways to Use Your Crochet Bow Keychain
- As a keychain 🔑 – Add a pop of color to your keys!
- As a bag charm 👜 – Attach it to your purse or backpack for a cute accessory.
- As a gift topper 🎁 – Use it to decorate gift bags or packages.
- As a hair accessory 💁♀️ – Add a bobby pin or clip to turn it into a bow hairpiece.
💬 Final Thoughts
This Crochet Bow Keychain is such a fun and quick project, perfect for using up leftover yarn and making something adorable! It’s a great way to practice basic stitches while creating a practical and stylish item.
If you make this pattern, I’d love to see your version! Tag me on Instagram at #cozyyarnvibes so I can admire your creations.
Happy Crocheting! 🧶🎀
Can you tell me if the pattern that is written is for the picture posted?!!!!!
its same .
I finished 10 rows and I just have the main bow part. How do I make the 2 ribbons below the bow?
Same thing happened with me, im so confused!
Pingback: 10 Cute Crochet Bag Charm Ideas For Purse - Yarns Whimsy
Pingback: 25 Free Crochet Bow Patterns
Pingback: 10 Crochet Bow Keychain Ideas - Yarns Whimsy